Meet the troop behind the traps
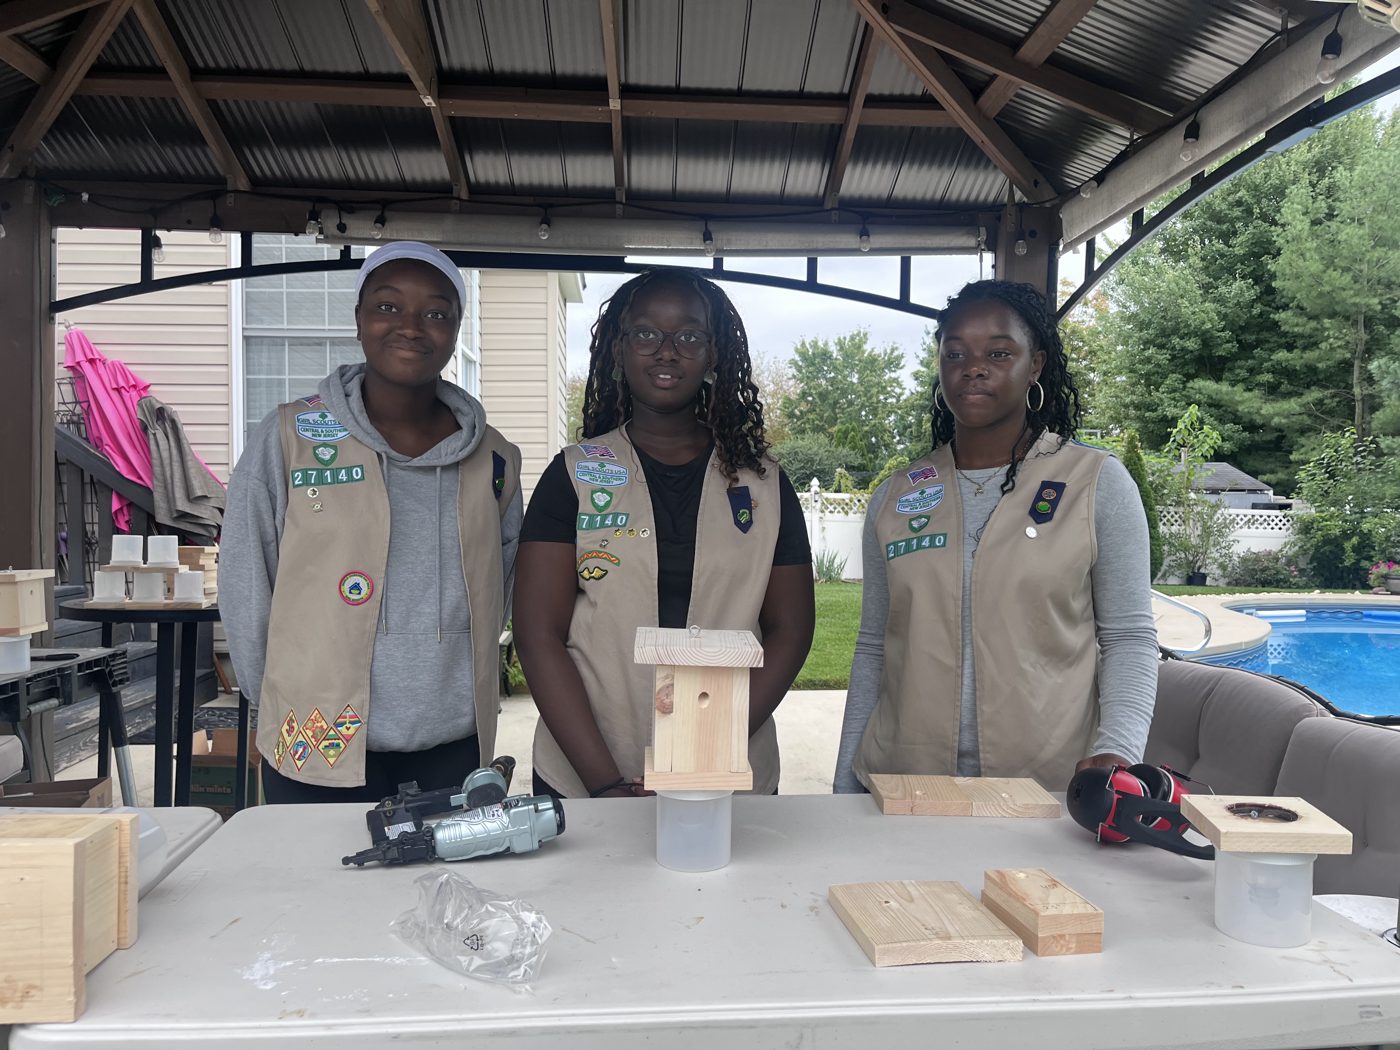
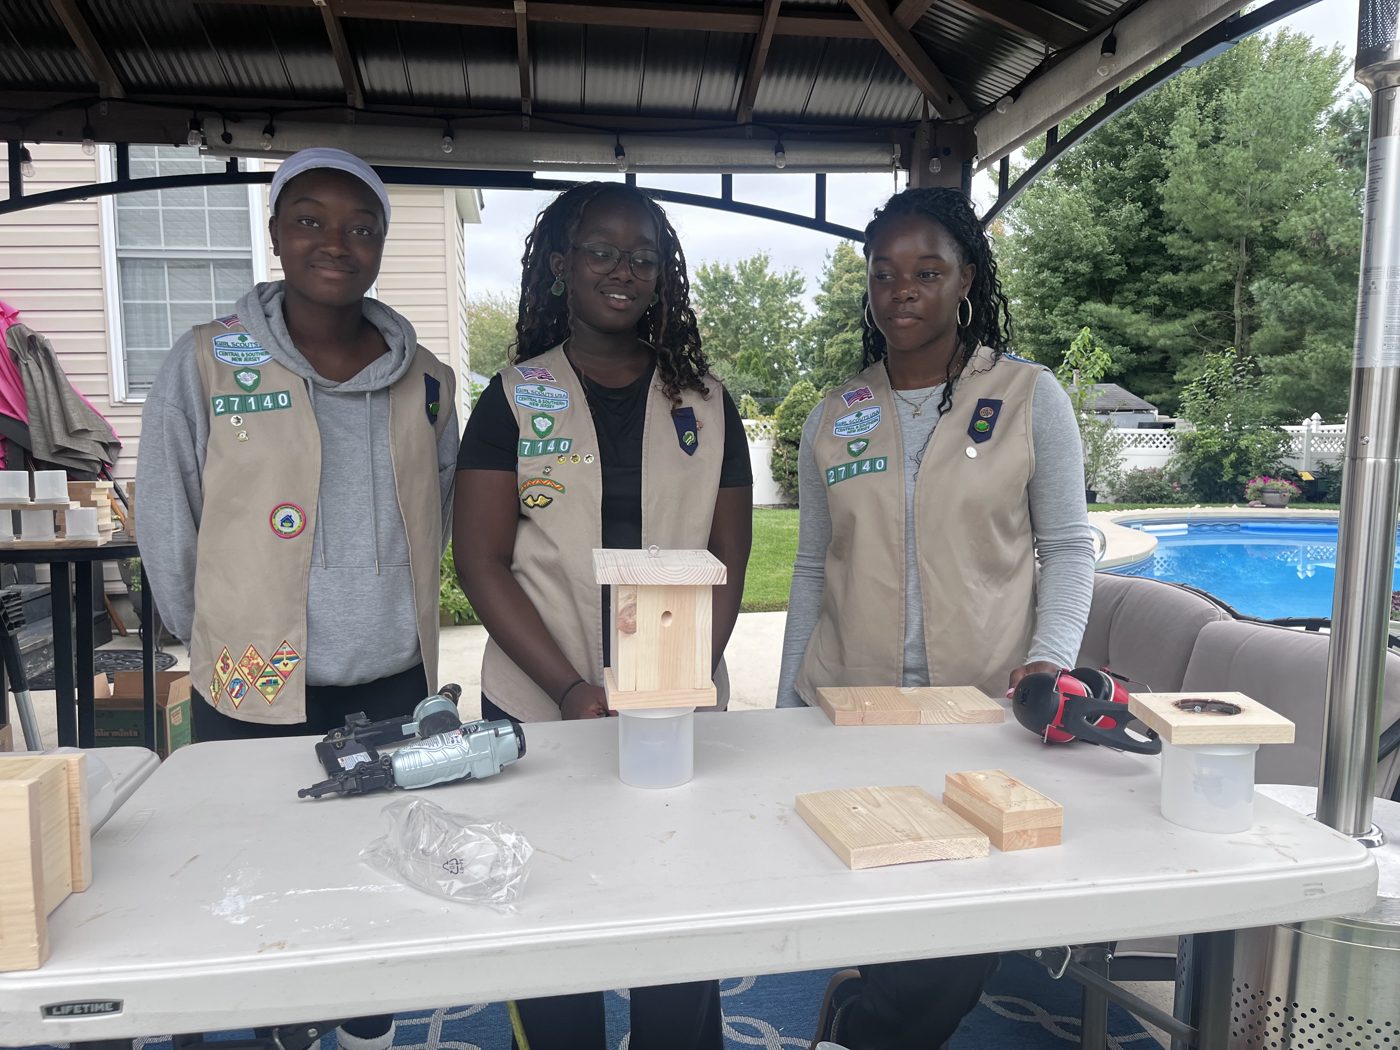
Three Cadettes from Troop 27140 noticed the damage on a camping trip — and turned it into their Girl Scout Silver Award project.
Wura Adeaga
Designed the trap and led the troop through cutting and constructing all 80 of them.
Seysi Kluvitse
Surveyed the camp damage, coordinated with rangers, and sourced every material.
Essence Maurice
Researched carpenter Bees and pollinators and used her creativity to write the content on this site.
The problem at camp
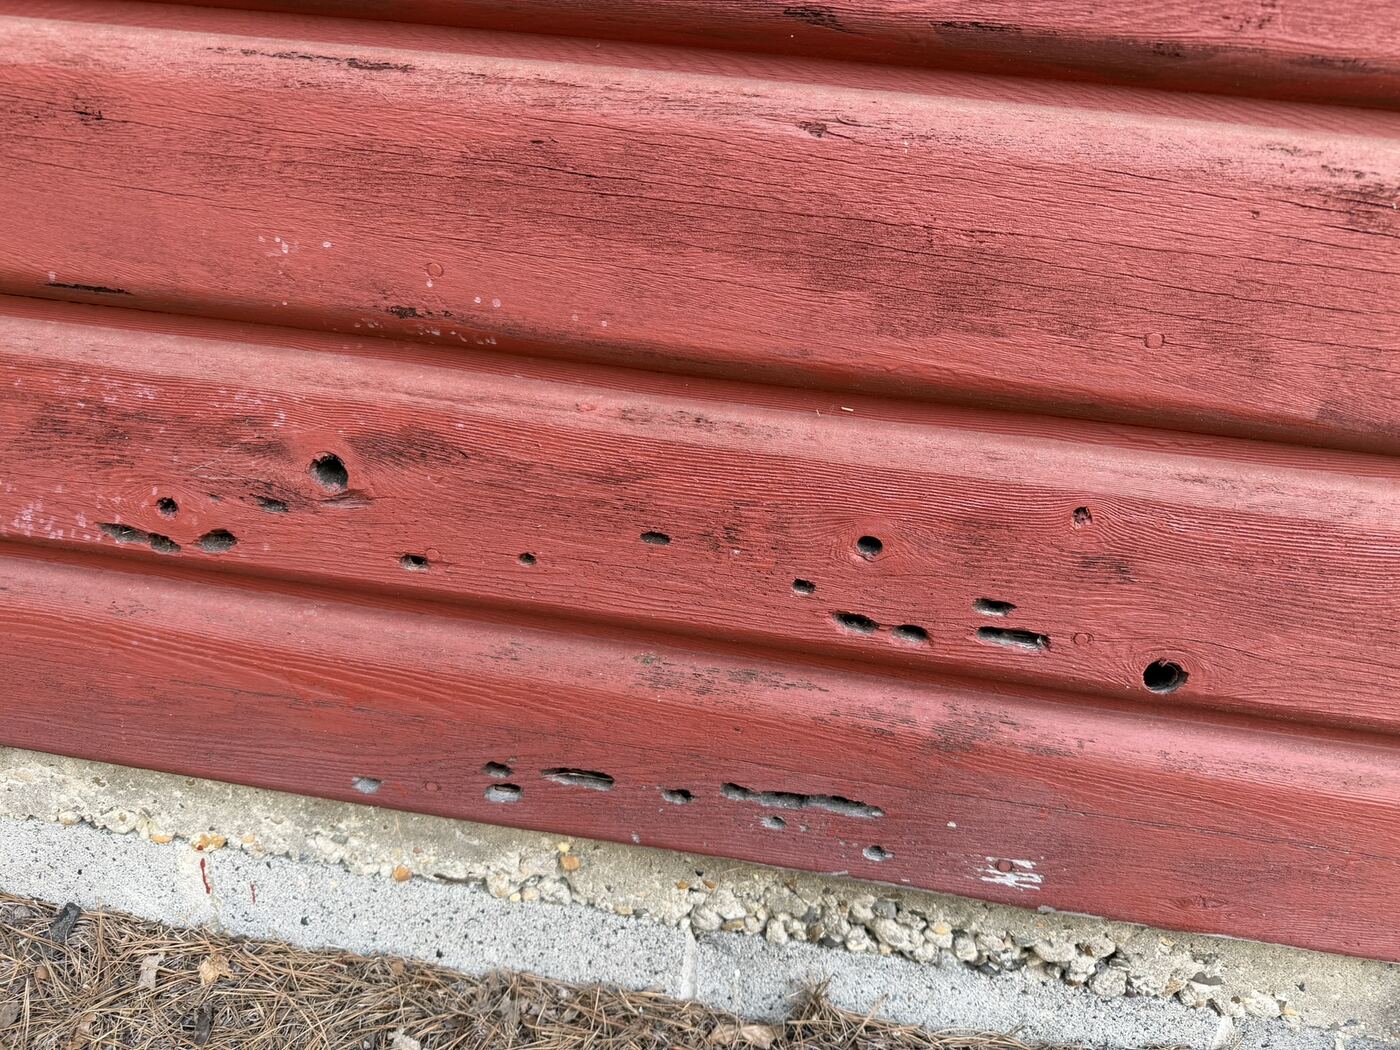
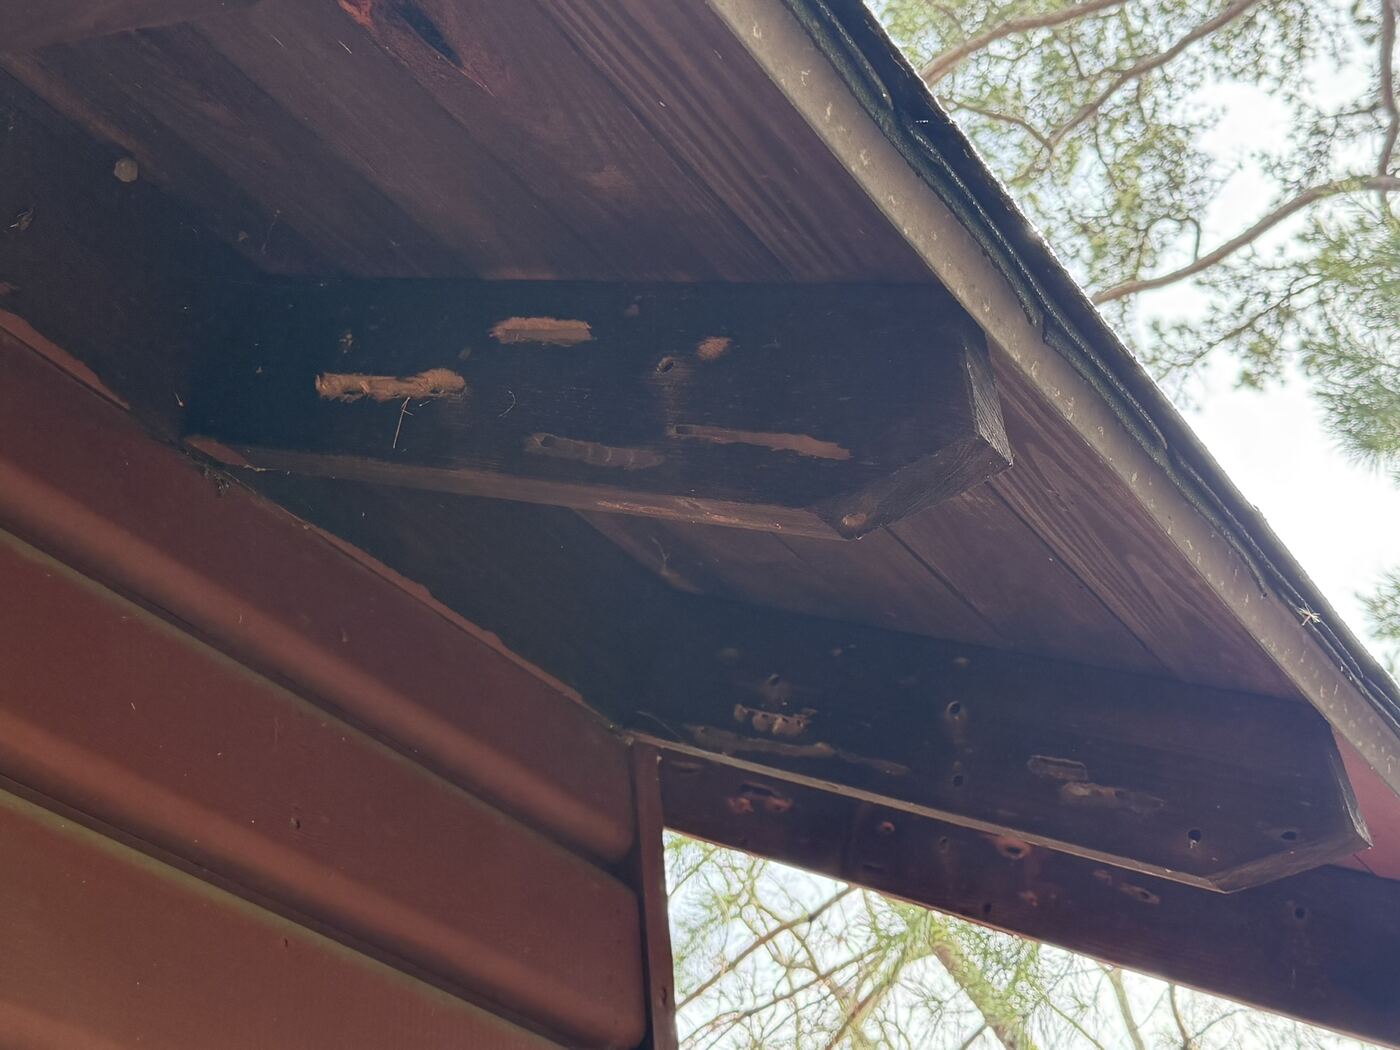
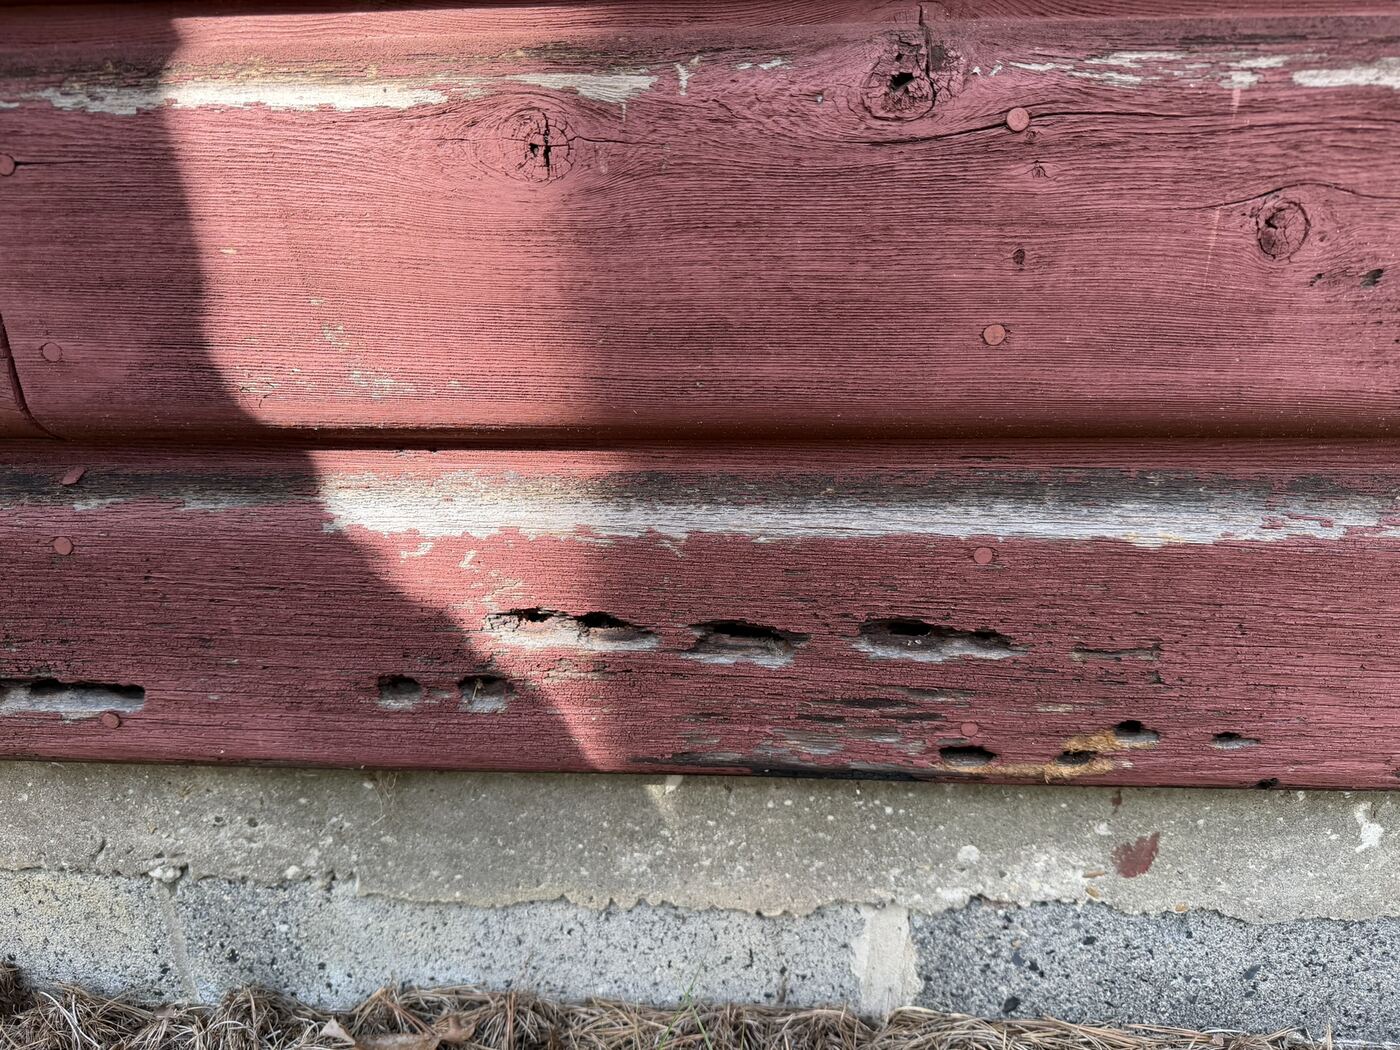
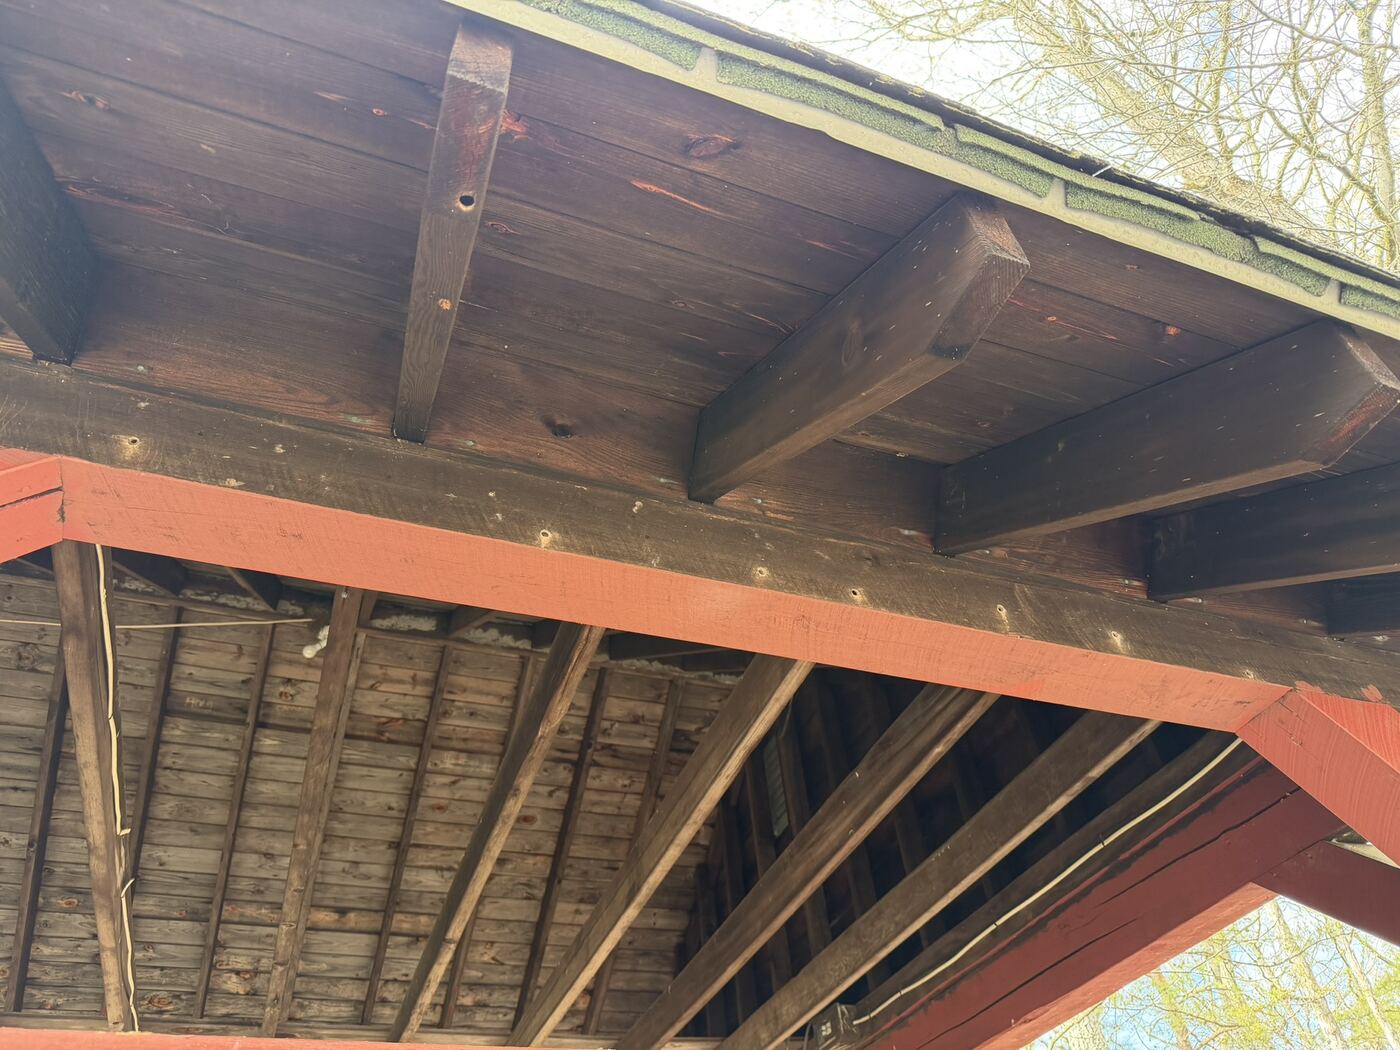
On a troop camping trip to Camp Inawendiwin, we started noticing something odd: dime-sized, perfectly round holes drilled into the wood of the pavilions, the latrines, and even the platform tents.
The holes weren't just cosmetic. Carpenter bees don't stop at the entrance — they tunnel inside the wood, sometimes for feet at a time, season after season. Wood that gets hollowed out for long enough stops being safe to build on, stand under, or sleep in.
Good bees vs. problem bees
Not every bee buzzing around camp is a problem. Most of them are exactly why the woods are so green — they're pollinators, and we want them around.
Honeybees & bumblebees
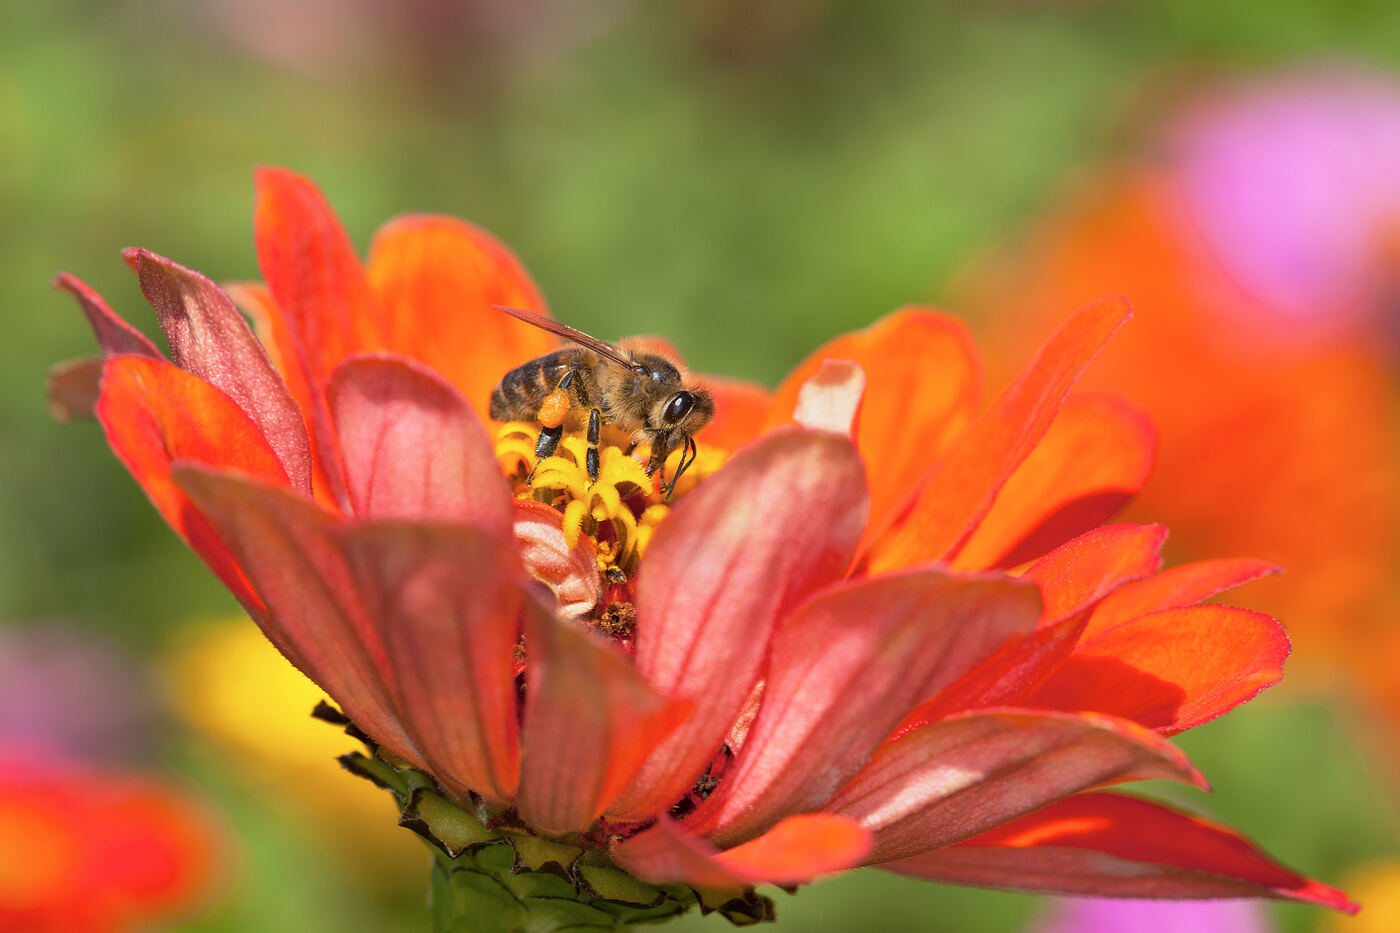
Photo: Peggy Greb, USDA Agricultural Research Service (public domain)
- Fuzzy, hairy abdomen — often banded yellow and black
- Social: live together in hives or underground nests
- Pollinate flowers all day and never touch camp structures
Carpenter bees
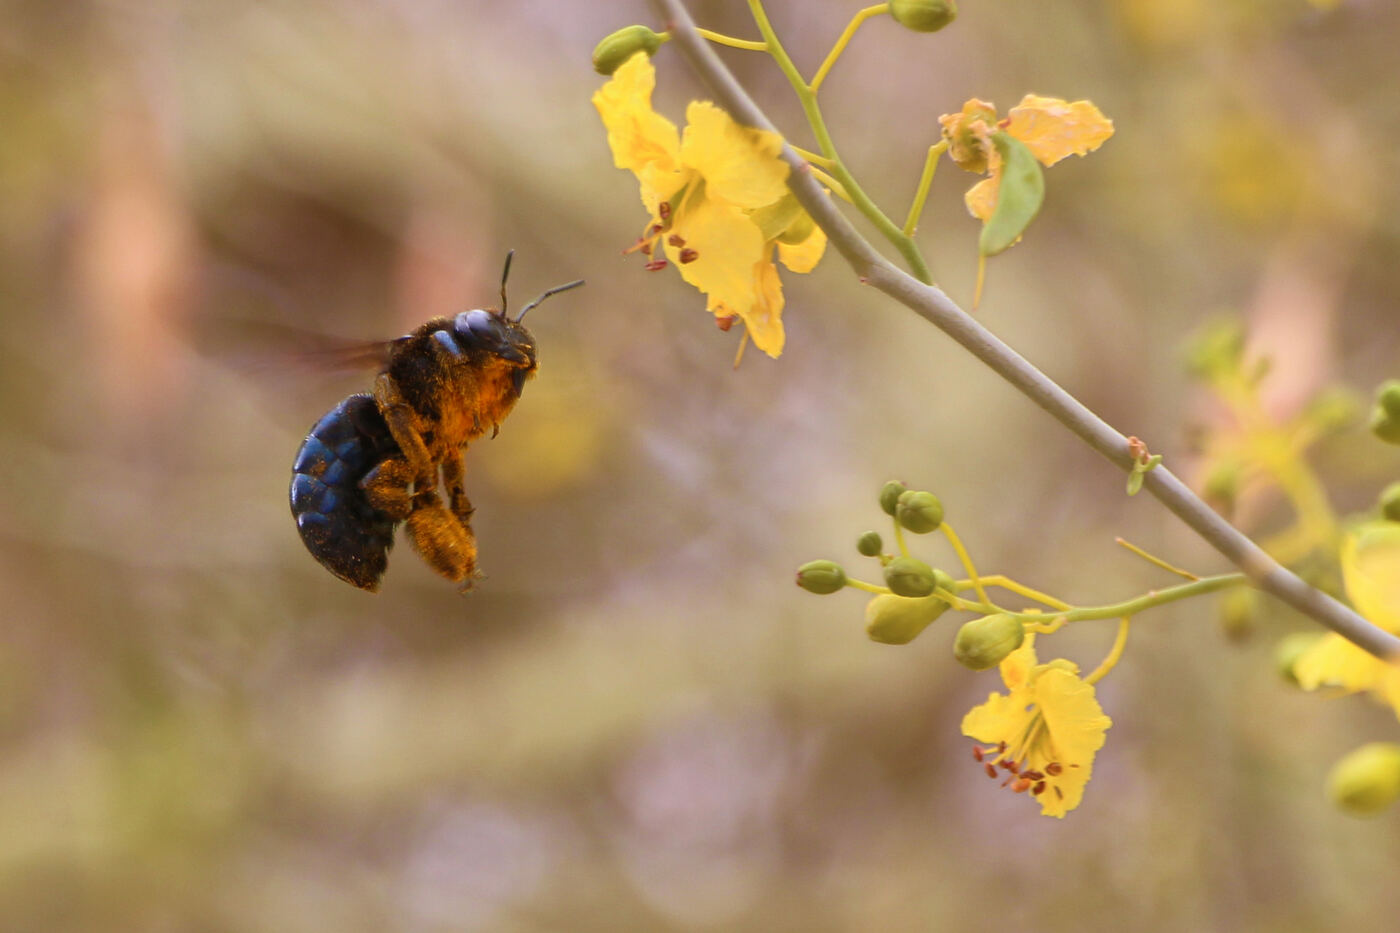
Photo: Hannah Schwalbe, National Park Service, courtesy U.S. Fish & Wildlife Service (public domain)
- Shiny, bald, black abdomen — almost no fuzz at all
- Solitary: each female bores her own tunnel, alone
- Nests inside bare wood instead of soil or a hive
Who's drilling these holes in the wood?
It's always a female carpenter bee. She doesn't eat the wood the way a termite would — she excavates it, chewing and scraping it away with her mandibles to carve out a nesting tunnel for her eggs.
She's picky about real estate: bare, unpainted, untreated softwood, ideally more than two inches thick. That's exactly what camp pavilions, eaves, and platform-tent frames are built from — which is why carpenter bees keep coming back to the same structures year after year.
How can you spot carpenter bee damage?
-
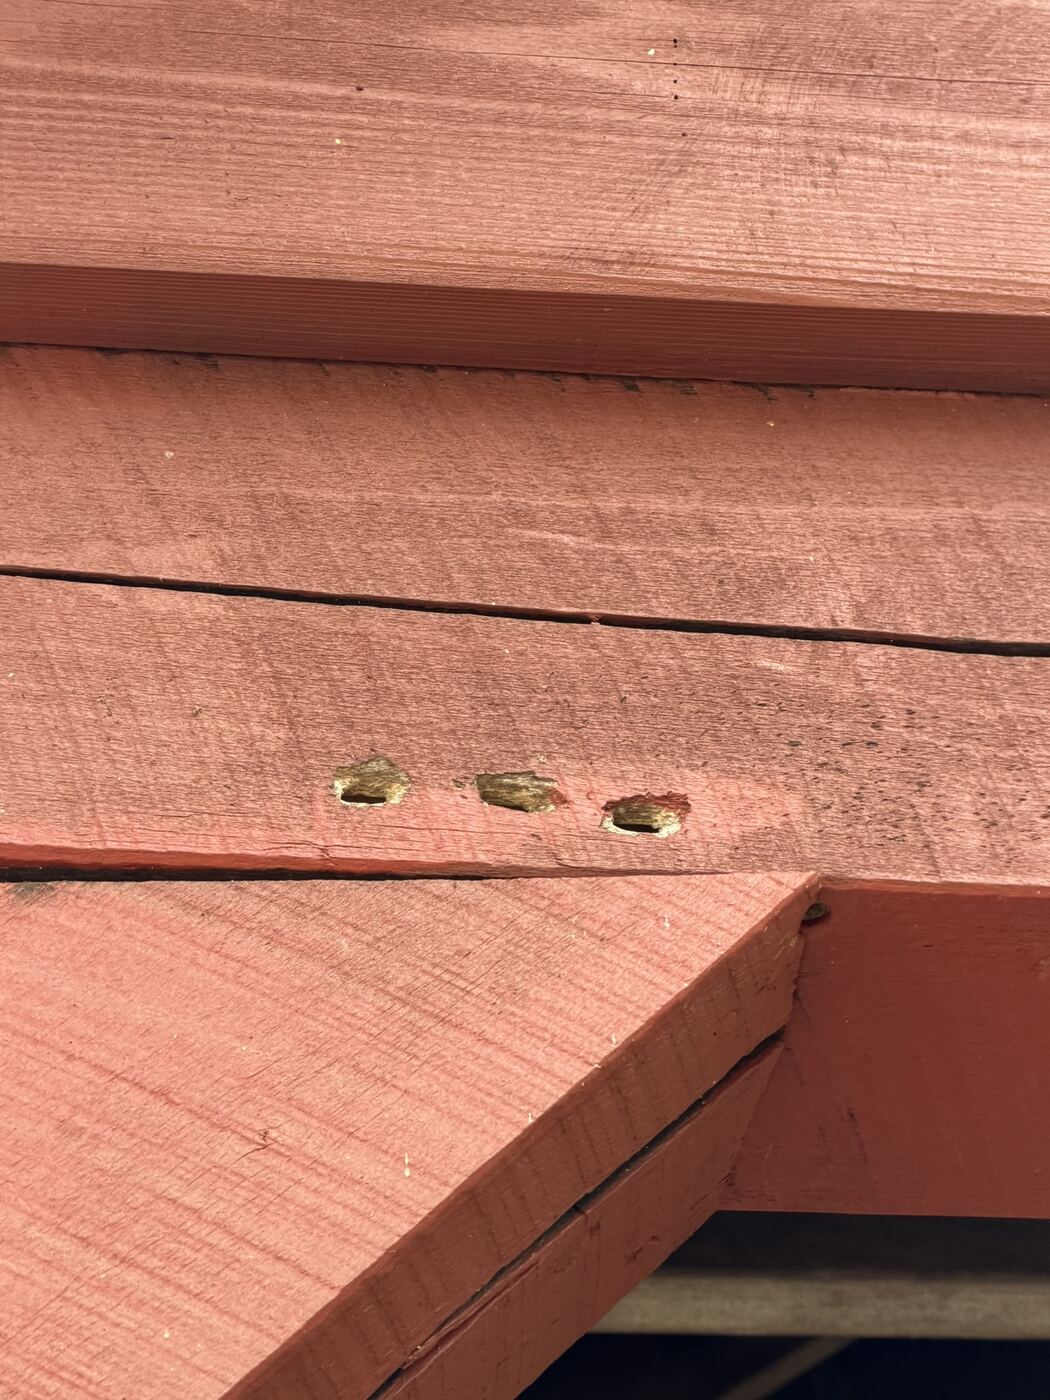
A perfectly round, dime-sized holeAbout ½ inch across, usually drilled into the underside of a beam, rail, or eave where it's shaded.
-
Coarse sawdust on the ground belowFine, powdery "frass" piles up right under an active hole as she carves out her tunnel.
-
Yellow-brown staining beneath the holeStreaks left behind by bee waste — a telltale sign a tunnel is occupied.
-
One bee hovering the same spot, over and overTerritorial males patrol near the nest entrance — harmless (they have no stinger), but a strong sign a nest is nearby.
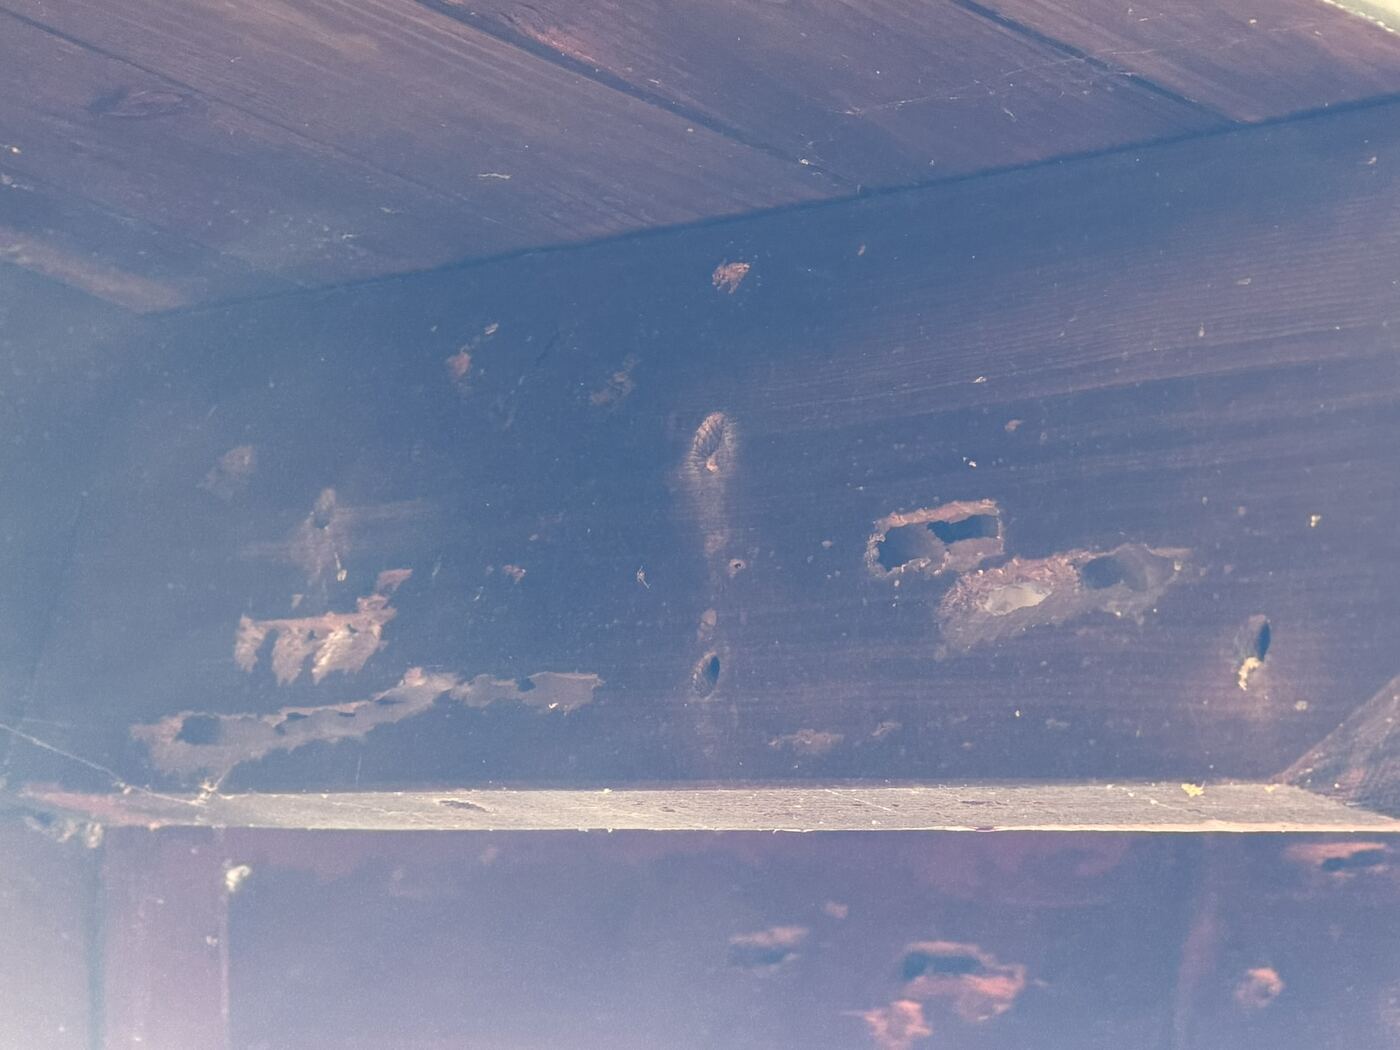
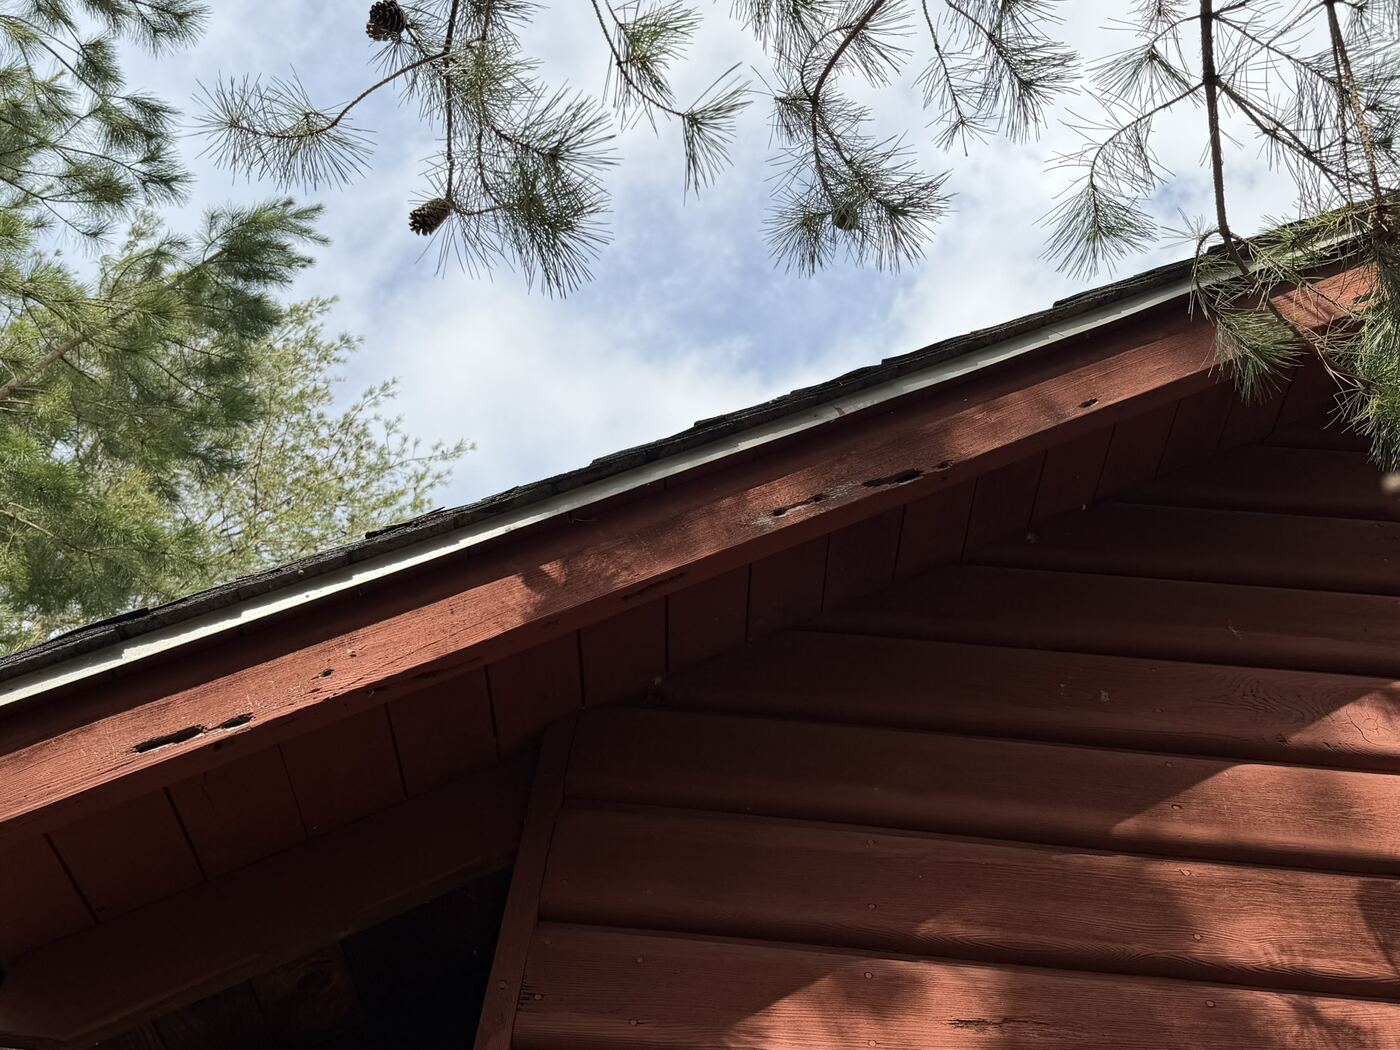
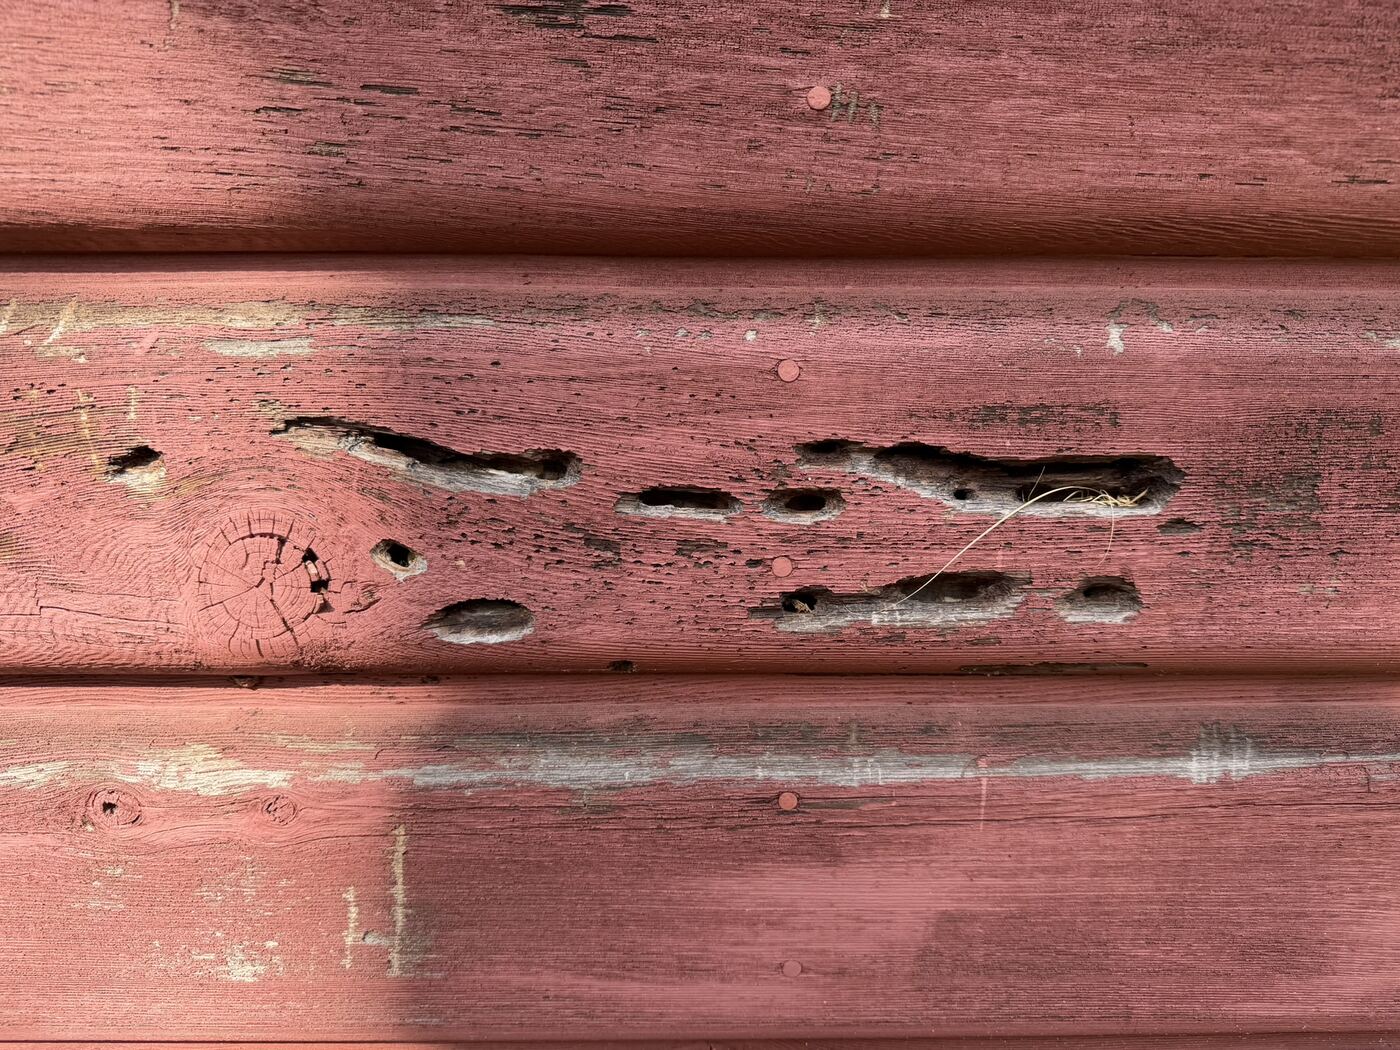
What's happening behind the hole?
The entrance hole is only the doorway. Once she's about an inch in, the bee makes a sharp 90° turn and tunnels along the grain of the wood — sometimes for several feet, especially if she's extending a tunnel an earlier generation already started.
Inside, she builds a row of small chambers, one after another. Each gets a ball of pollen and nectar (called "bee bread") and a single egg, then she seals it off with chewed wood pulp before starting the next one down the line. A single tunnel can hold six to eight chambers — which is why one small hole can mean a lot more hidden damage than it looks like from outside.
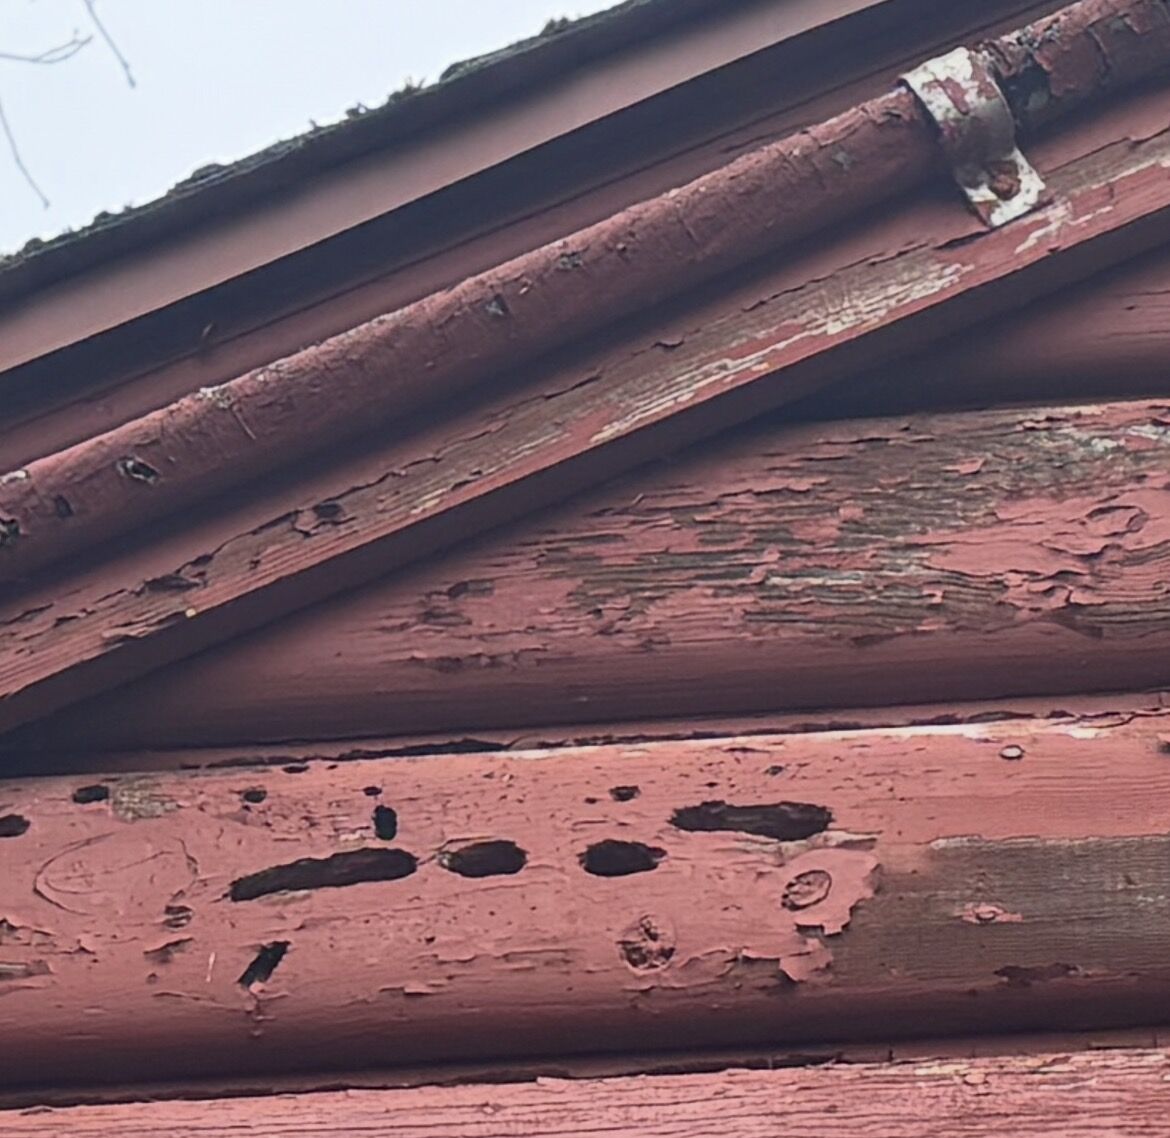
How can you prevent carpenter bee damage?
Carpenter bees choose wood by how it looks and feels, not where it is — which means prevention is mostly about making wood less inviting in the first place.
- Paint or varnish exposed woodBare and stained wood are both fair game — a painted, sealed surface is what actually deters them.
- Fill old holes once the bee is goneWood putty or a glued dowel, then paint over it — an empty tunnel is an open invitation for next year's bees to move back in and extend it.
- Give them somewhere else to goThis is where a trap earns its keep — see the next two sections.
Why is a carpenter bee trap a good idea?
Camp is a place where kids eat, sleep, and play outside all day — spraying pesticides around the pavilions and tents wasn't something we were willing to do. Traps solve the same problem with zero chemicals.
They also don't punish the pollinators. A trap is built specifically to appeal to a wood-nesting bee looking for bare softwood, so it pulls carpenter bees away from the buildings without touching the honeybees and bumblebees working the wildflowers nearby.
And there's a multiplier effect: once a few bees are caught, they give off scent and pheromones that other carpenter bees find attractive — so a trap that's already working starts drawing in more bees on its own.
How do our carpenter bee traps work?
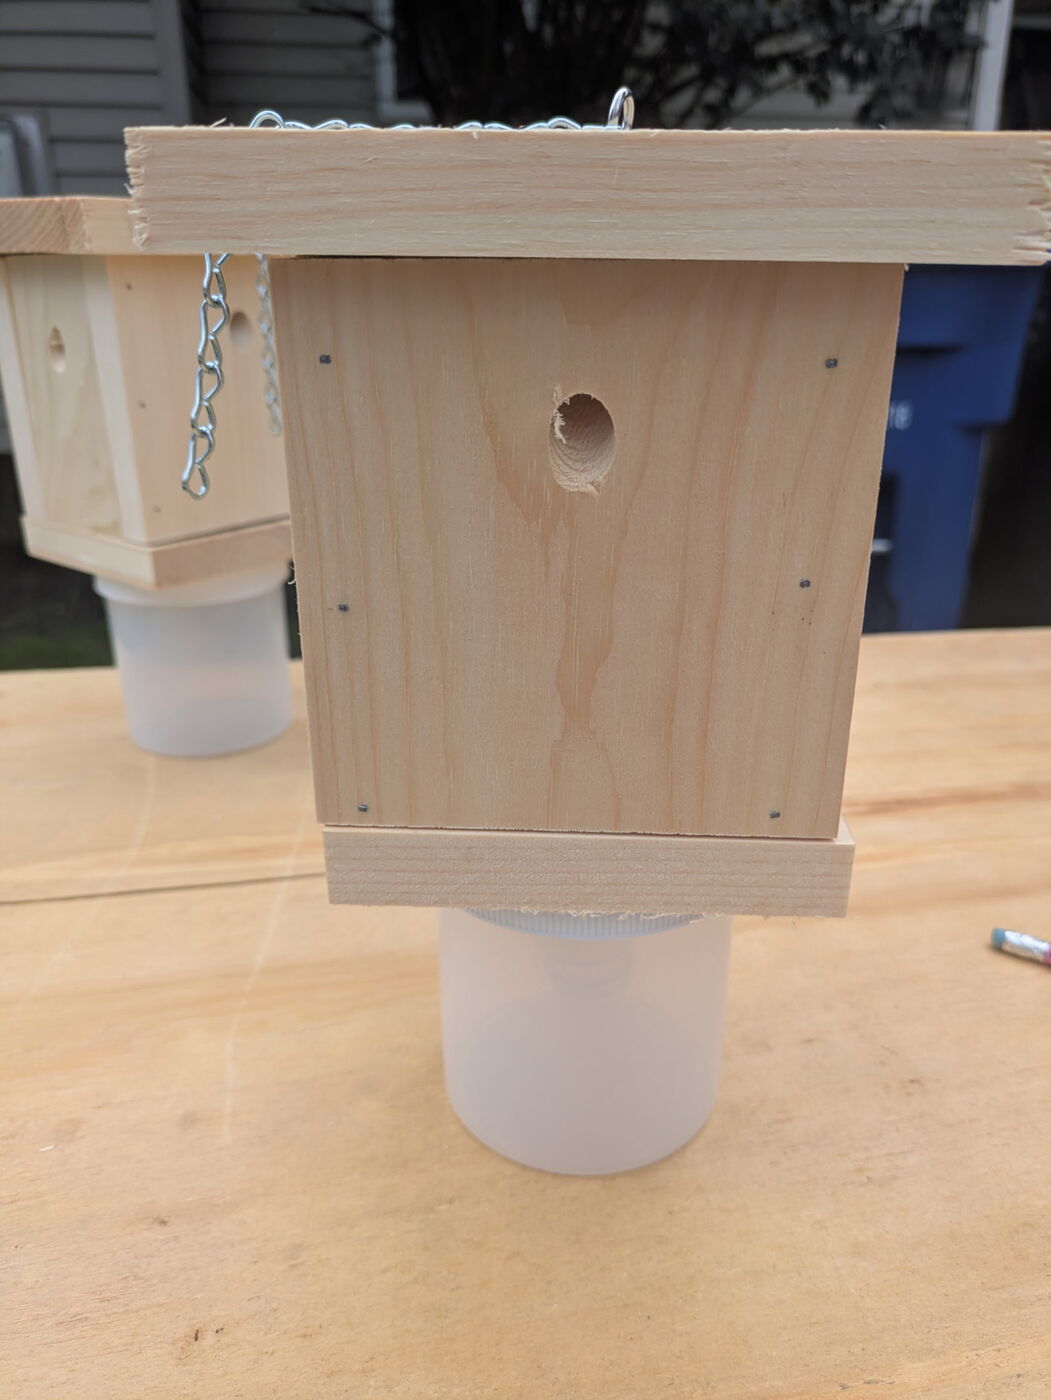
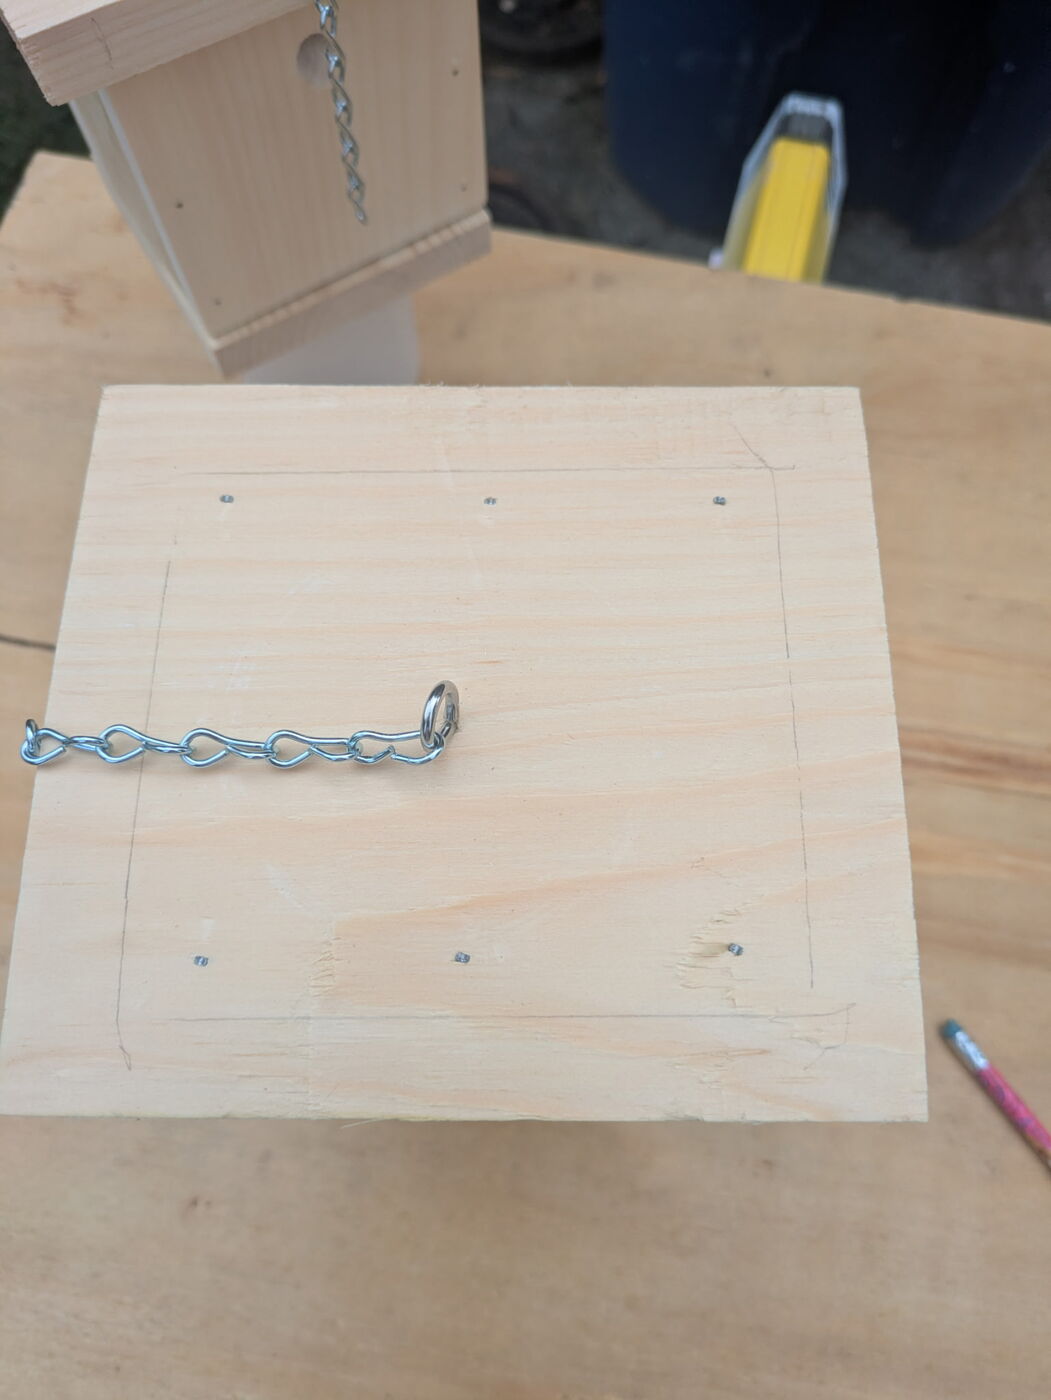
Every trap is a simple wooden box, built from four pieces of pine joined into a square. A flat lid caps the top, with an eye hook screwed into it so the whole trap can hang from a chain.
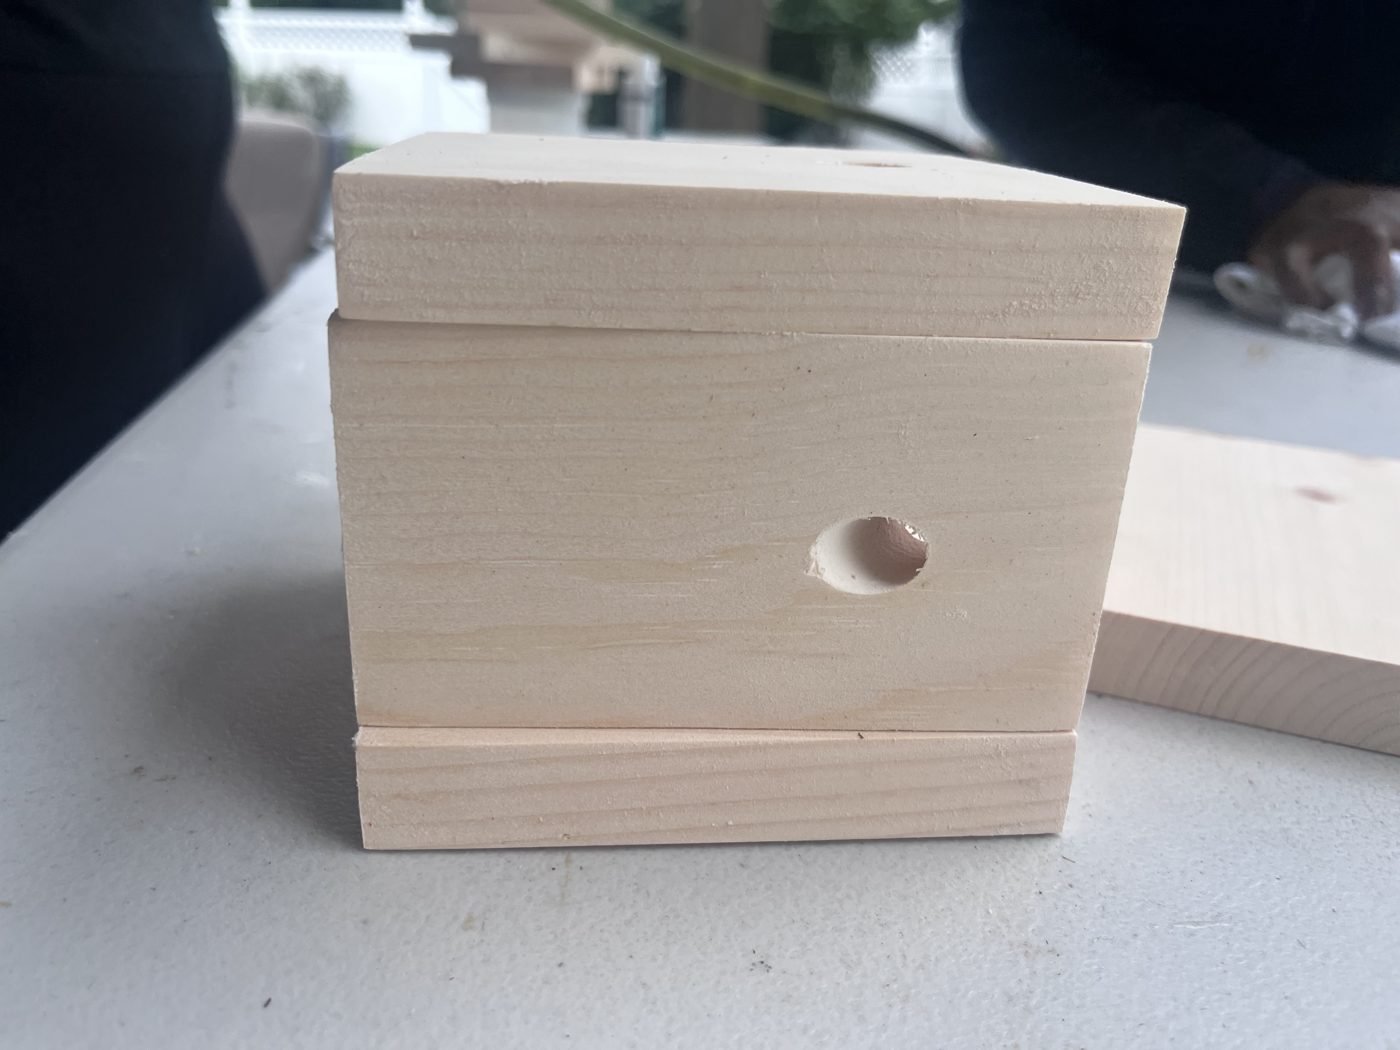
Each of the four sides has one hole, drilled at a 45° angle pointing up toward the lid. That upward angle is the trick: it keeps the hole dark inside, mimicking the kind of hidden nesting cavity a female carpenter bee is already searching for.
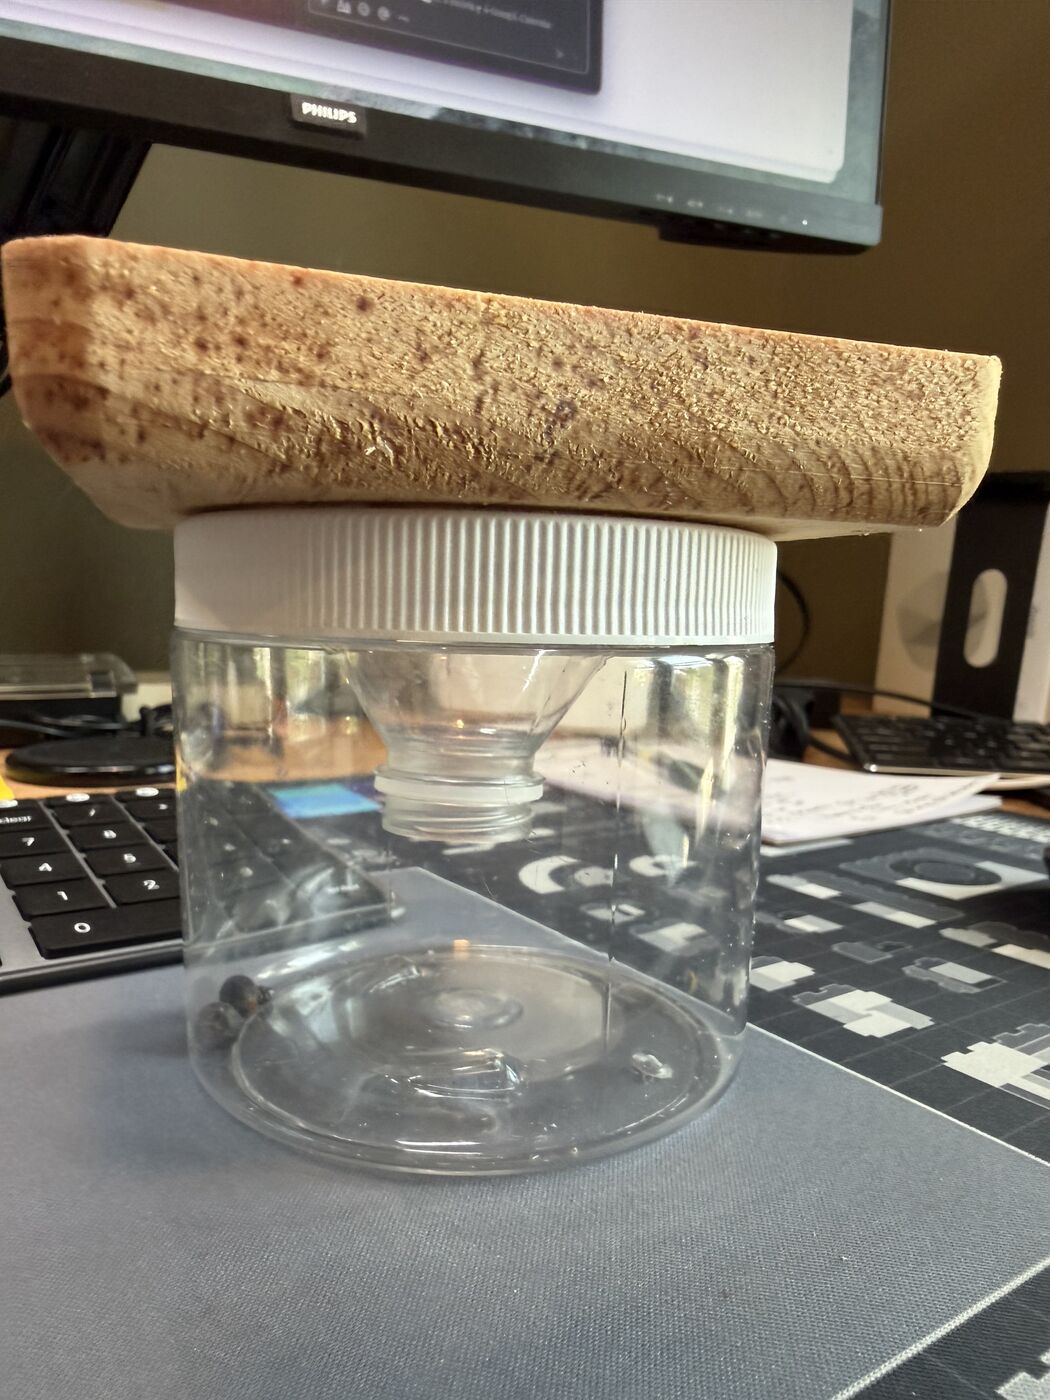
She climbs in, hits a dead end at the lid, and can't find her way back out through the dark, angled hole she came in. Instead she moves toward the light coming from below — down through the box and into the cut-off top of an upcycled plastic water bottle, which funnels her into a plastic jar screwed on underneath. Emptying a trap is as easy as unscrewing the jar.
How can you make your own bee trap?
Want to build one for your own yard or troop project? Here's exactly what went into ours — one trap's worth of parts.
Buy the pieces
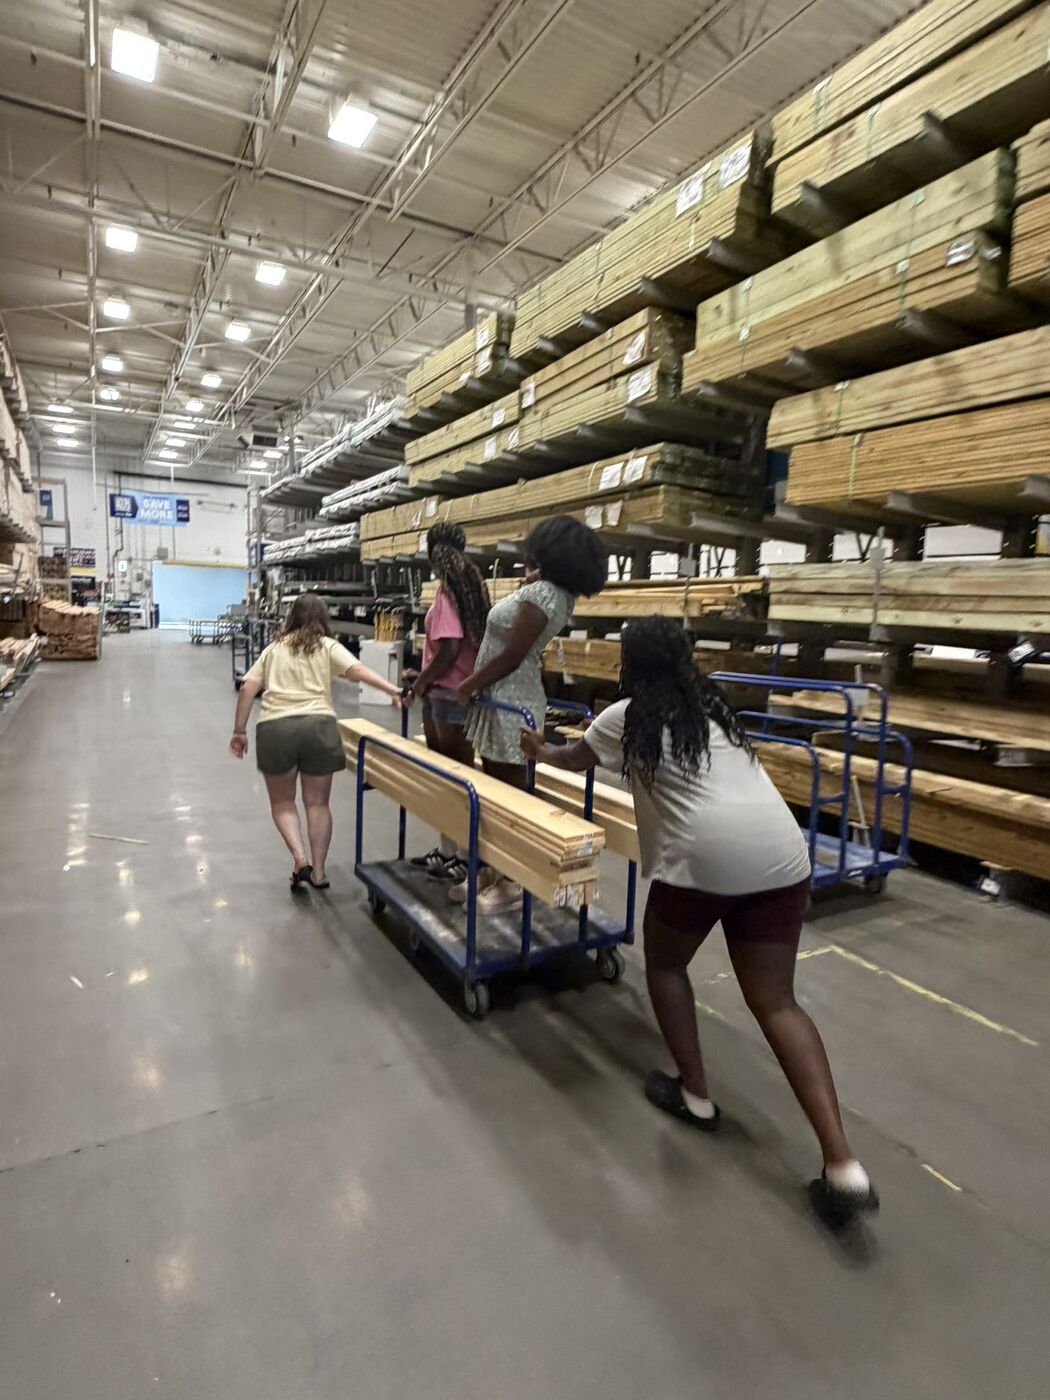
Take a trip to your local hardware store and look for some pine boards — cedar boards work too.
Cut the pieces
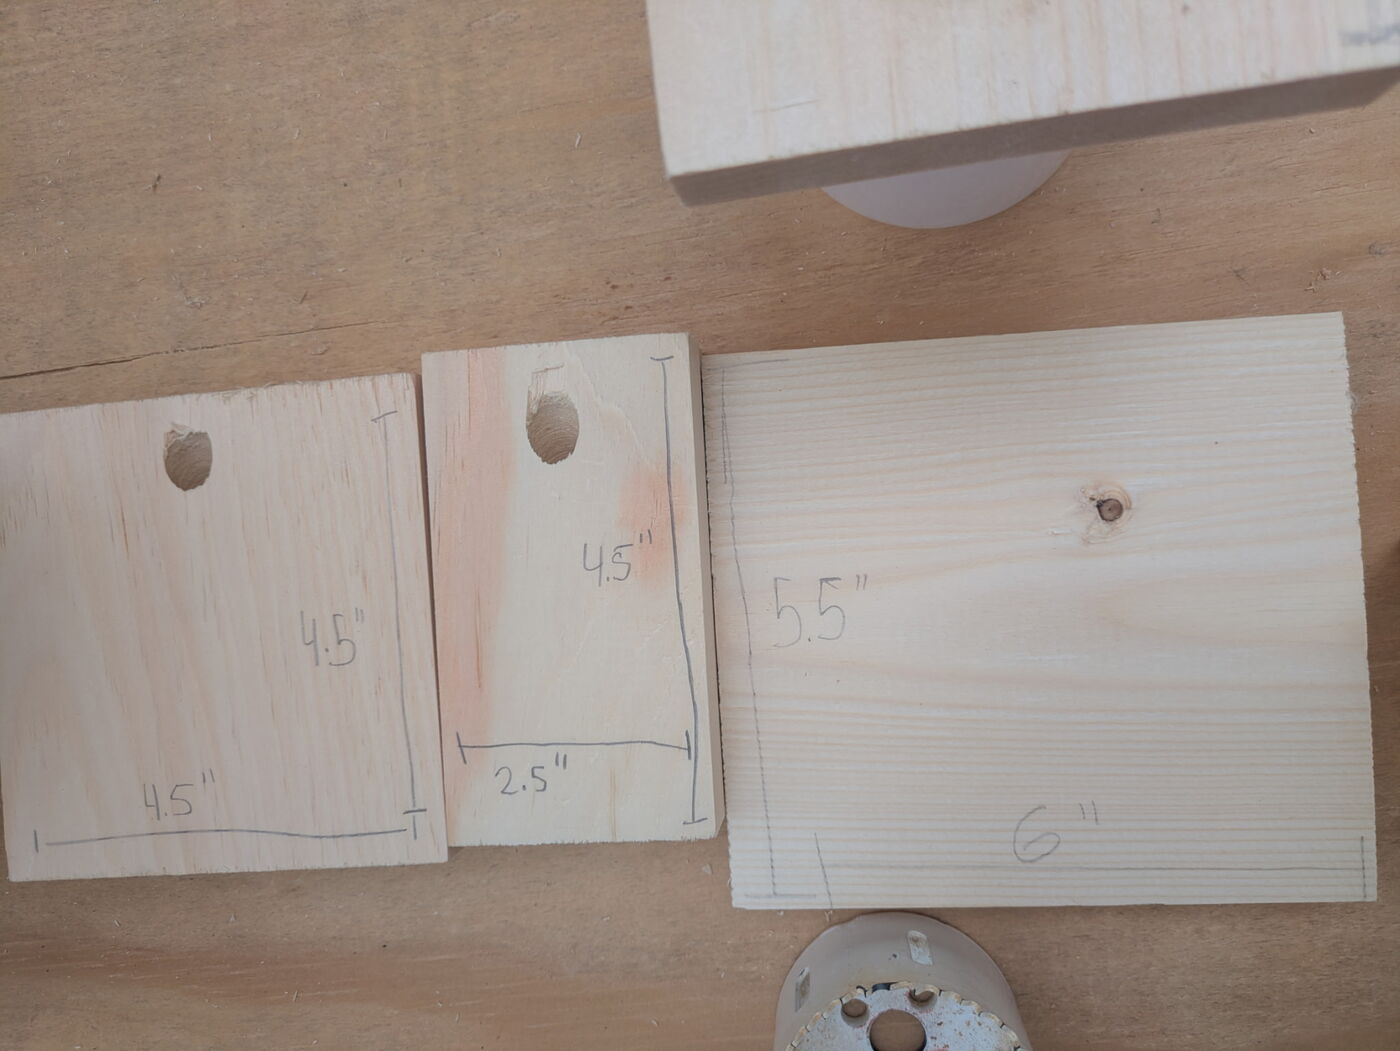
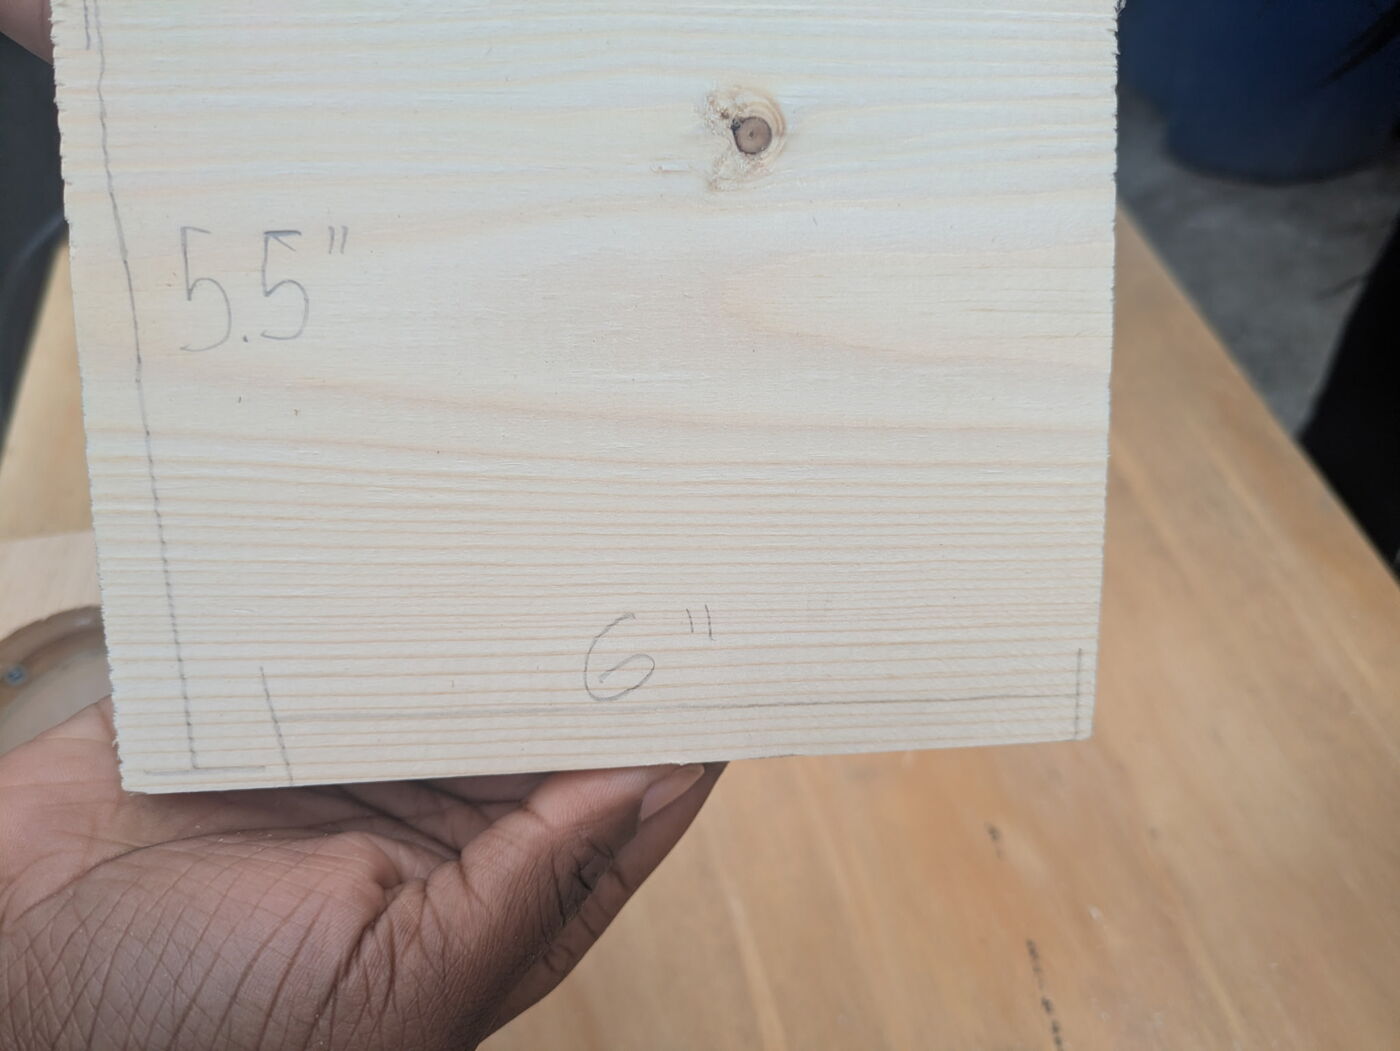
One lid, four box sides, and one base, all from ¾-inch pine. It's easy to cut a whole batch of same-sized pieces at once if you're building several traps, or just enough for one if that's all you need.
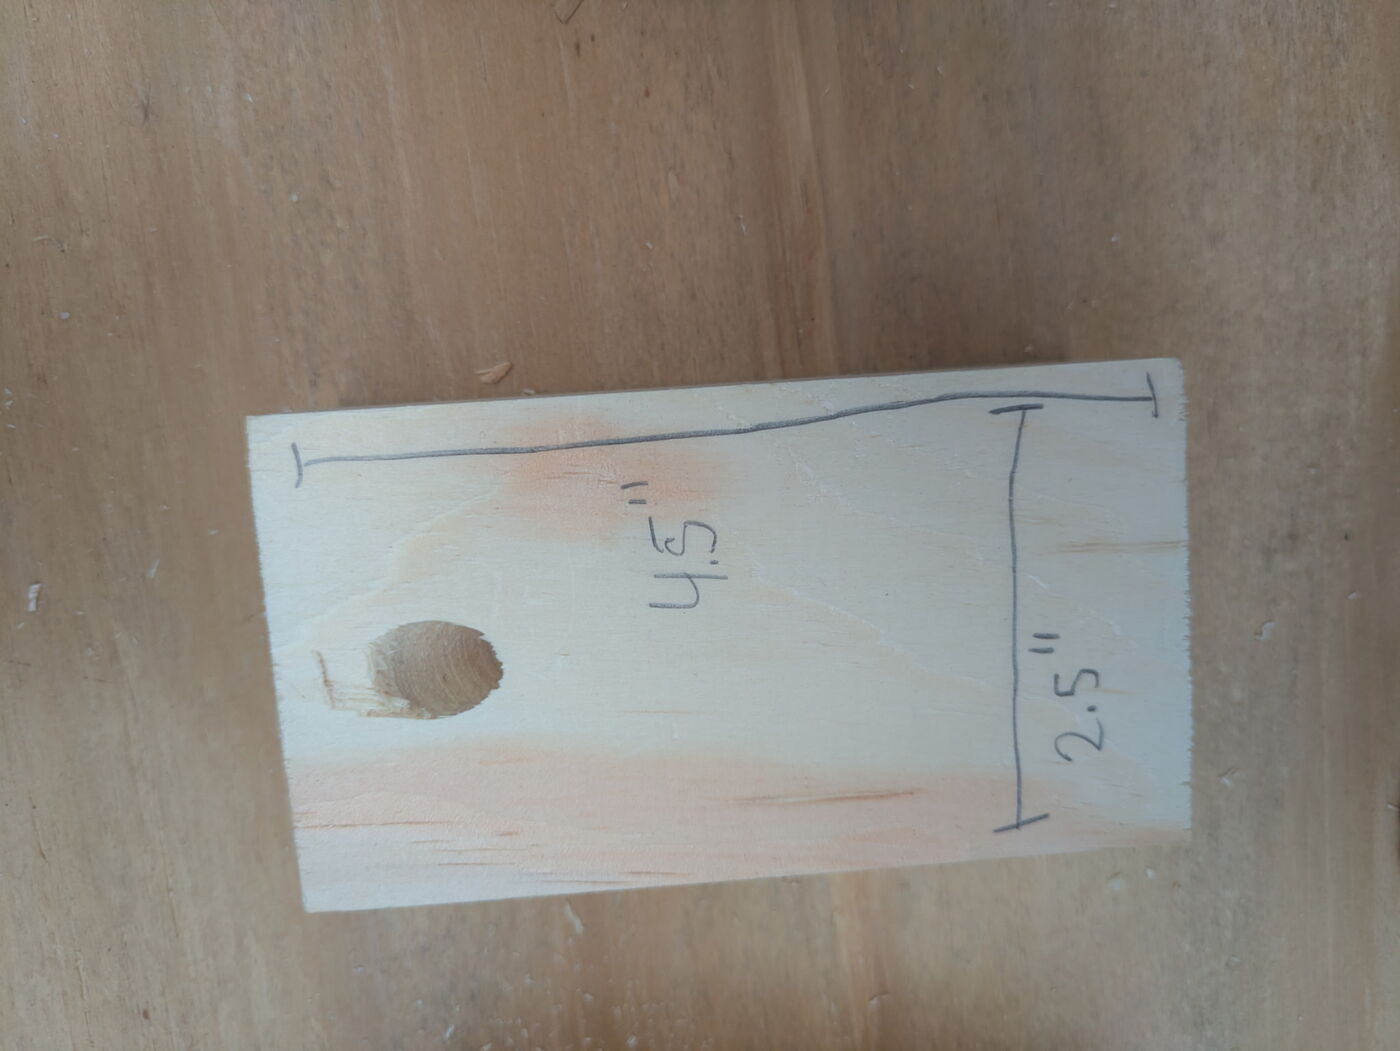
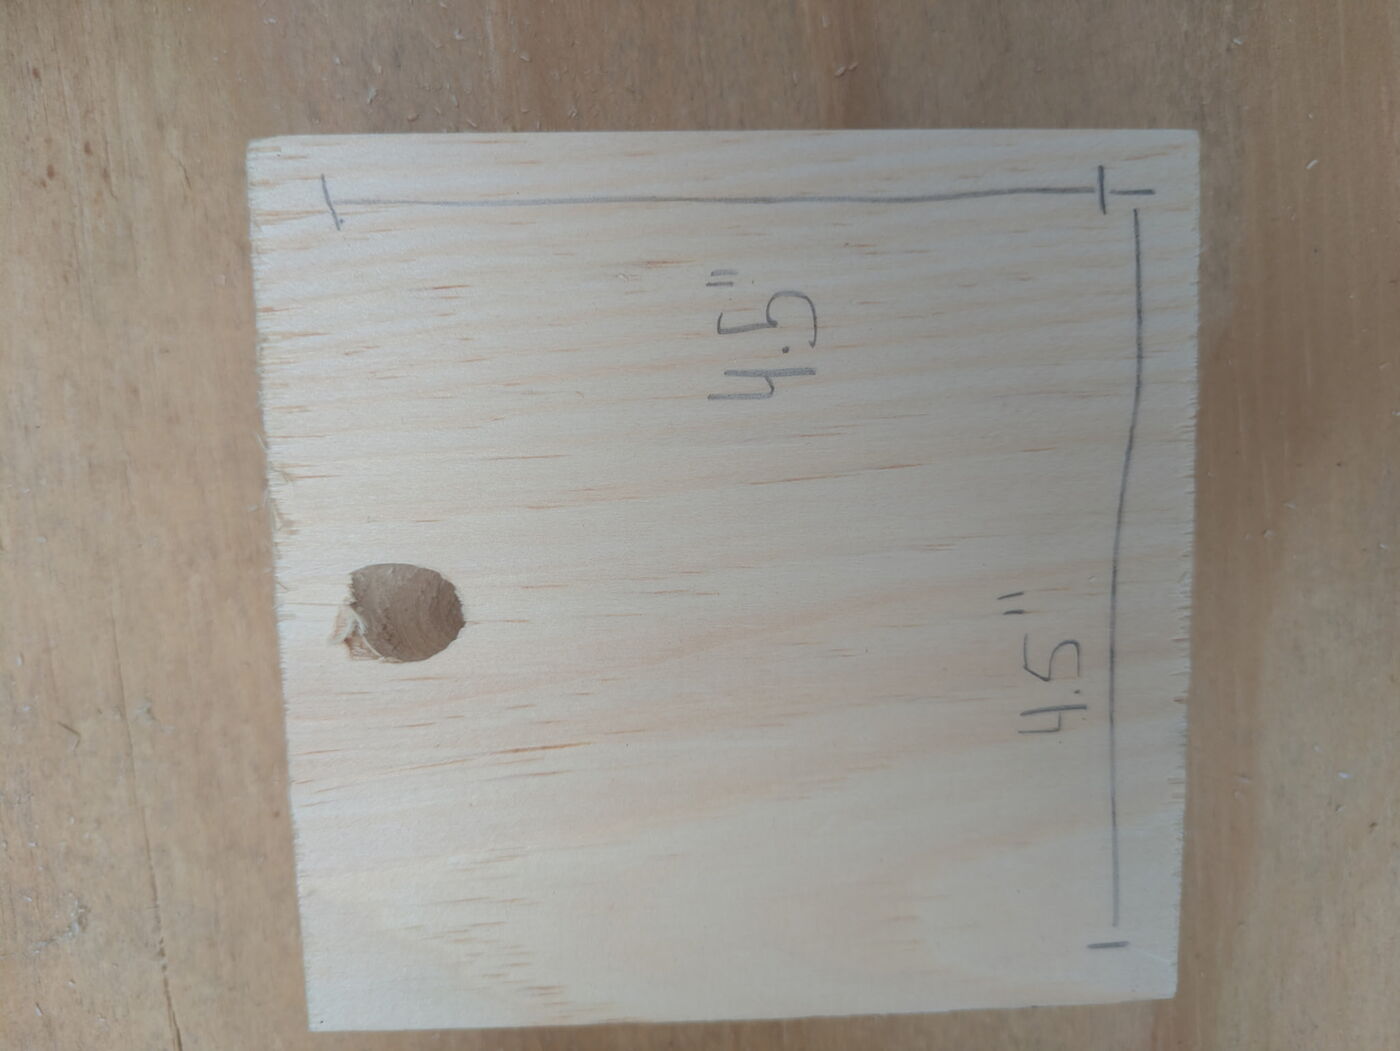
Drill each side's entry hole before assembly
One hole per side piece, drilled at a 45° angle while the board is still flat and easy to clamp — much easier than drilling into an already-assembled box.
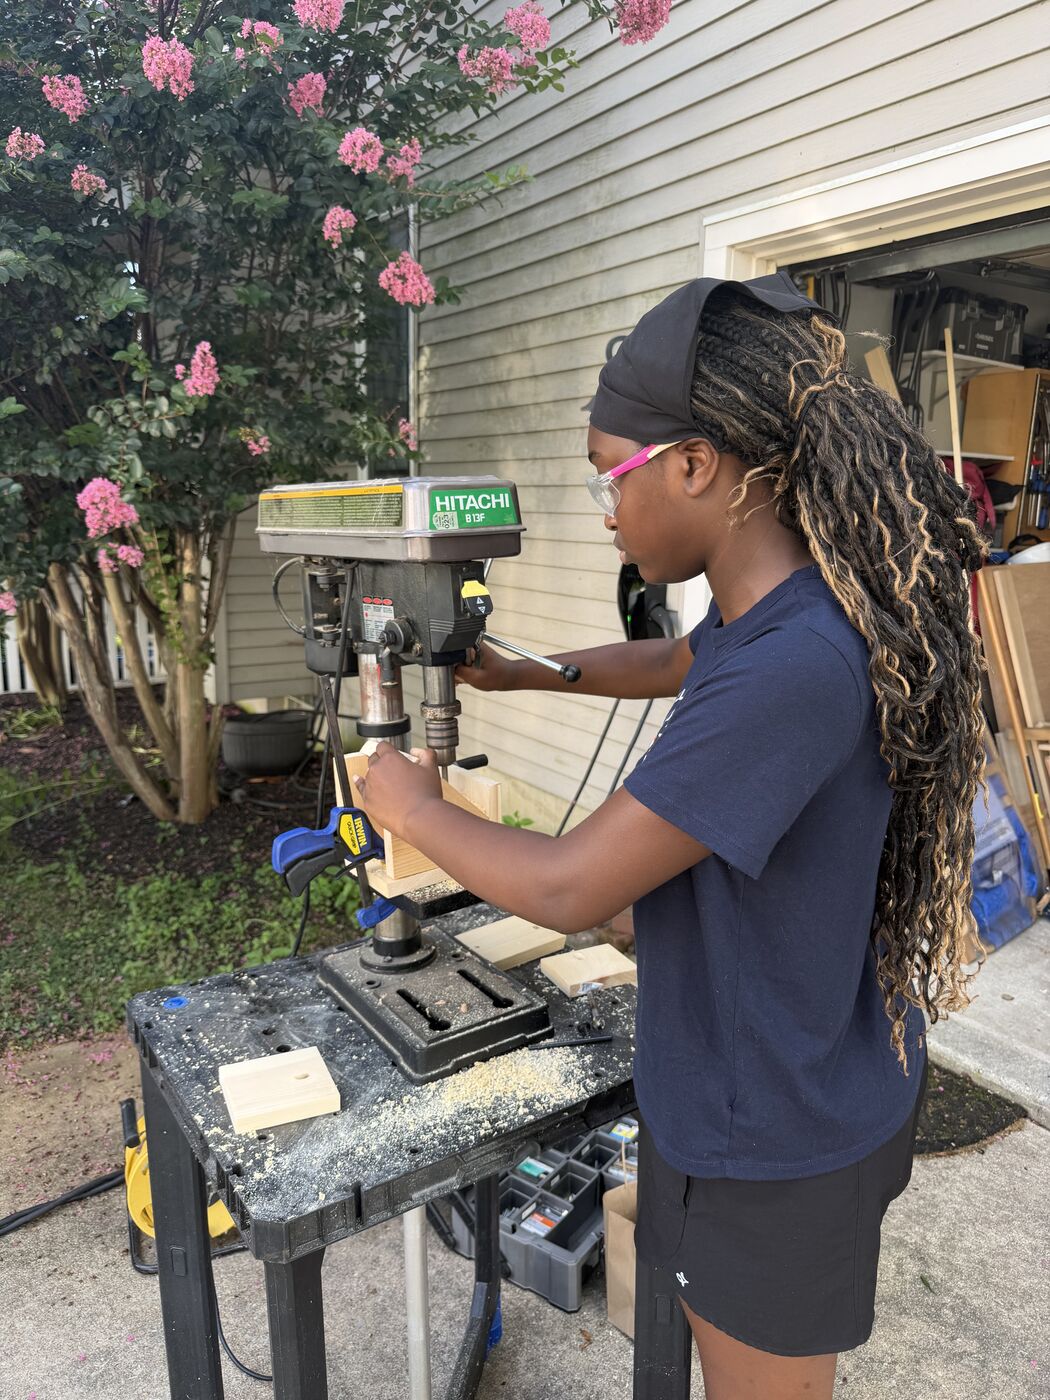
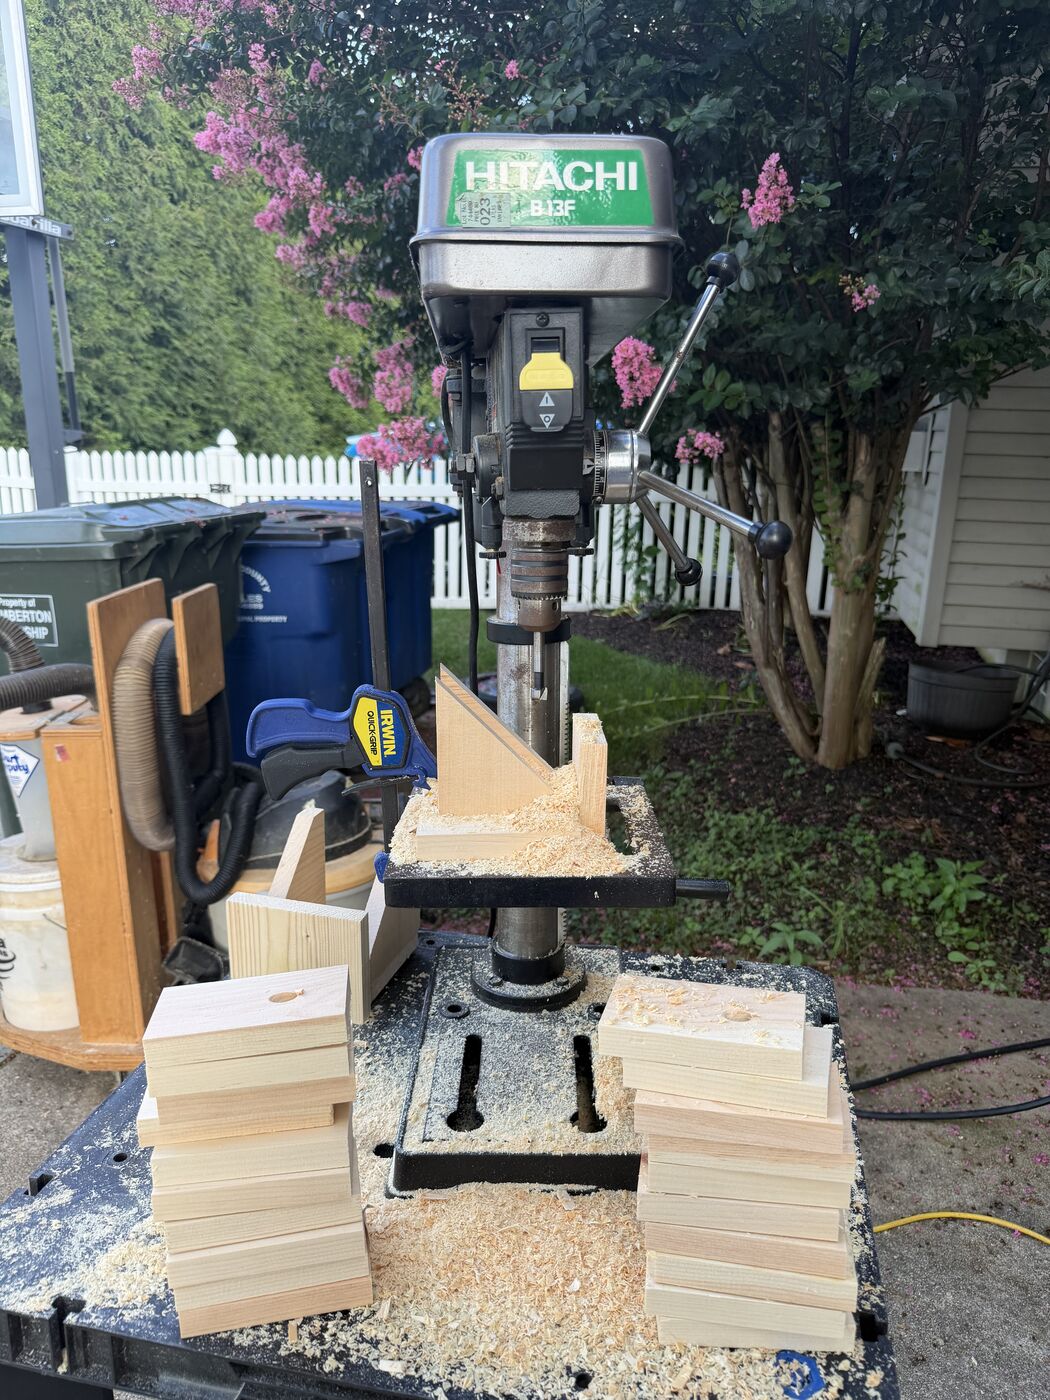
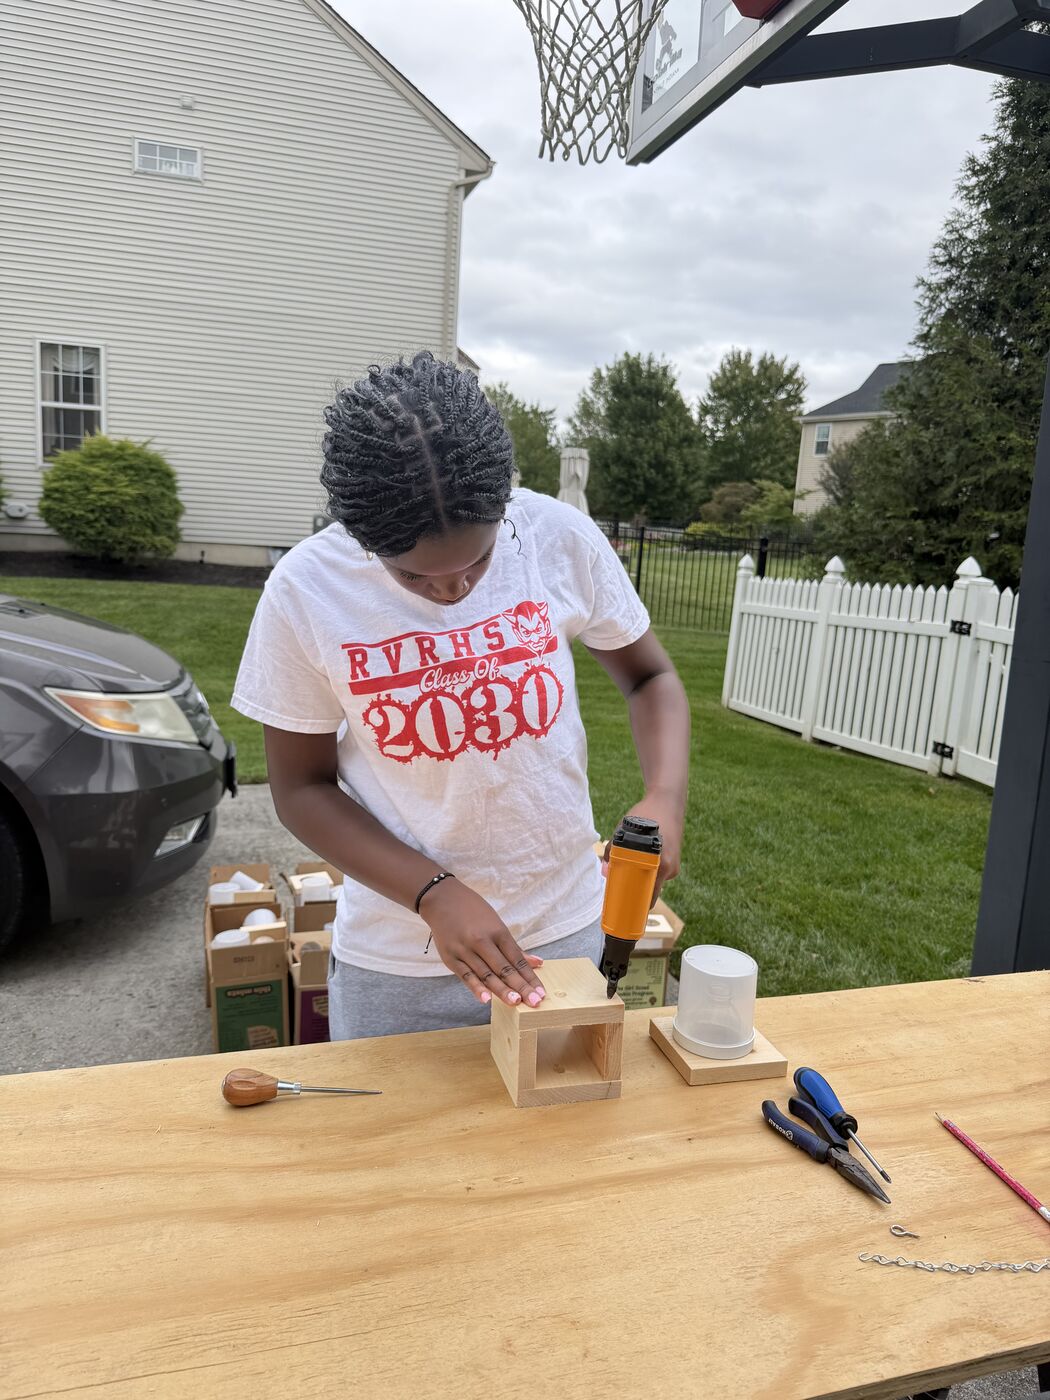
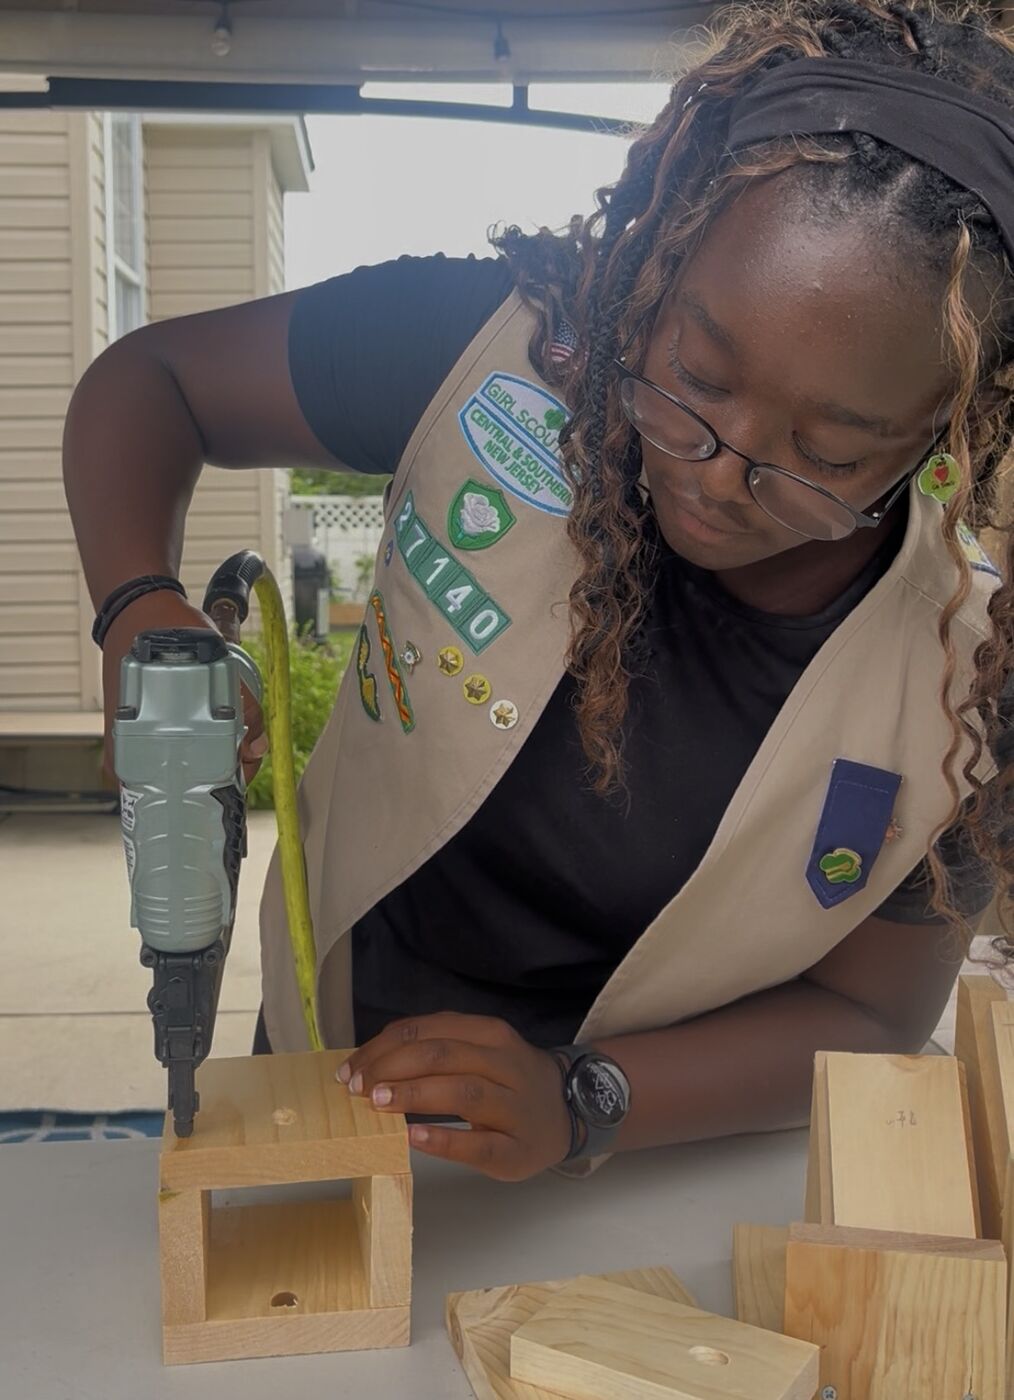
Nail and screw the box together
A nail gun holds the four sides to the base, reinforced with six #6, ½-inch screws at the joints.
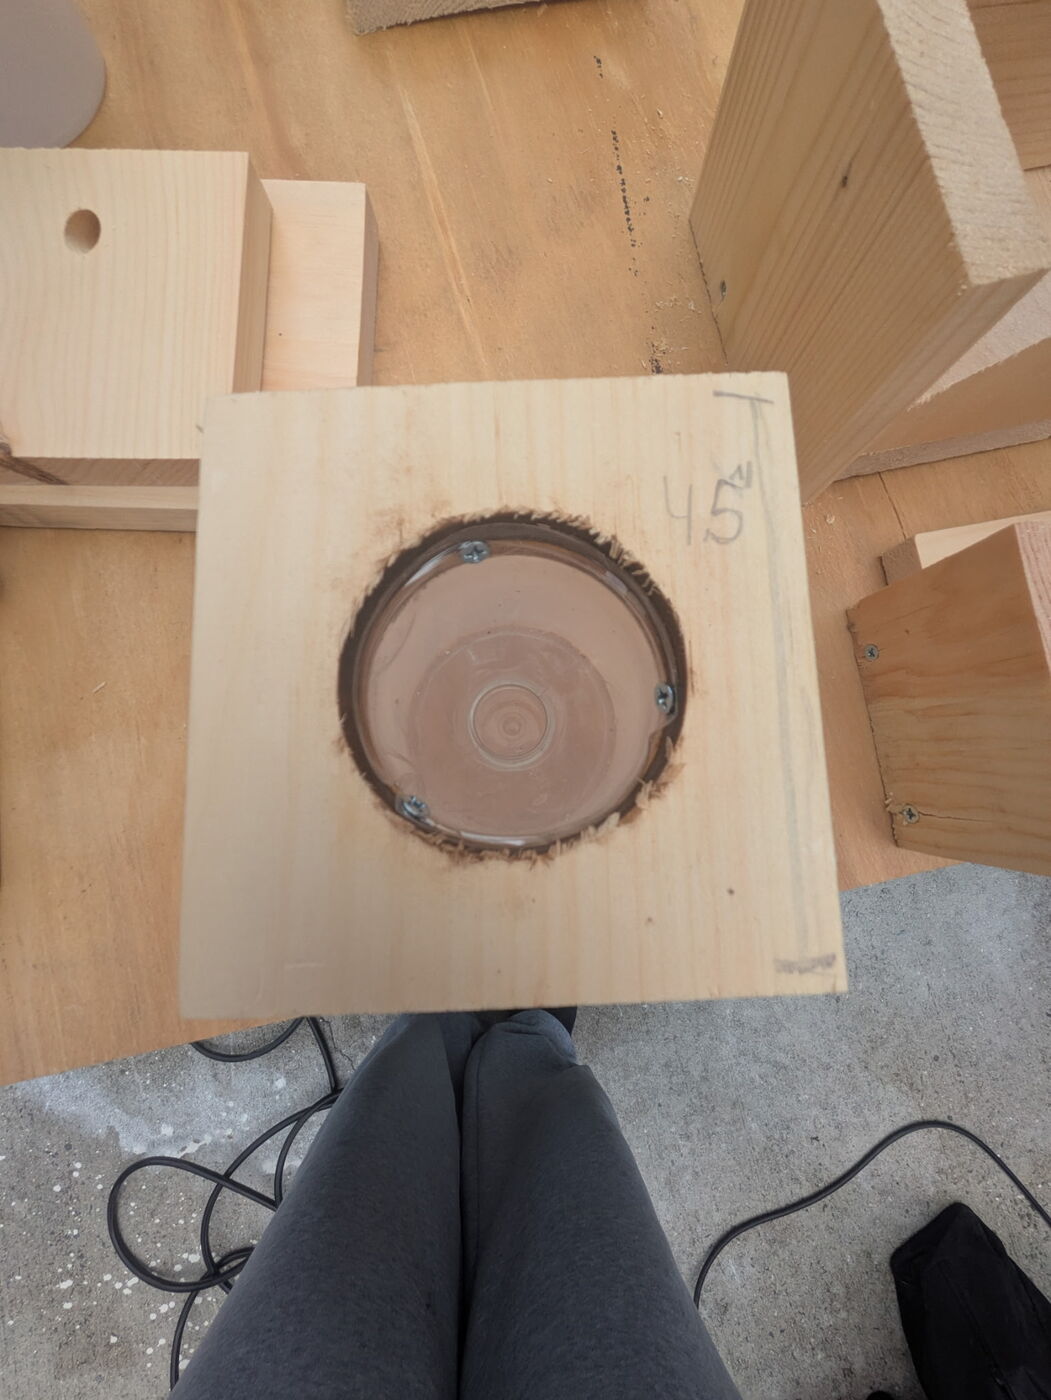
Cut a funnel opening in the base
Sized to fit the neck of an empty plastic water bottle. The bottle's cut-off top sits in this opening and funnels bees downward, toward the light.
Attach the jar underneath
The plastic jar's lid gets fixed to the underside of the base, so the jar itself screws on and off easily whenever it needs emptying.
Add the eye hook and chain to the lid
A #112, 1-inch eye hook goes into the center of the lid, with a length of #16 chain attached for hanging.
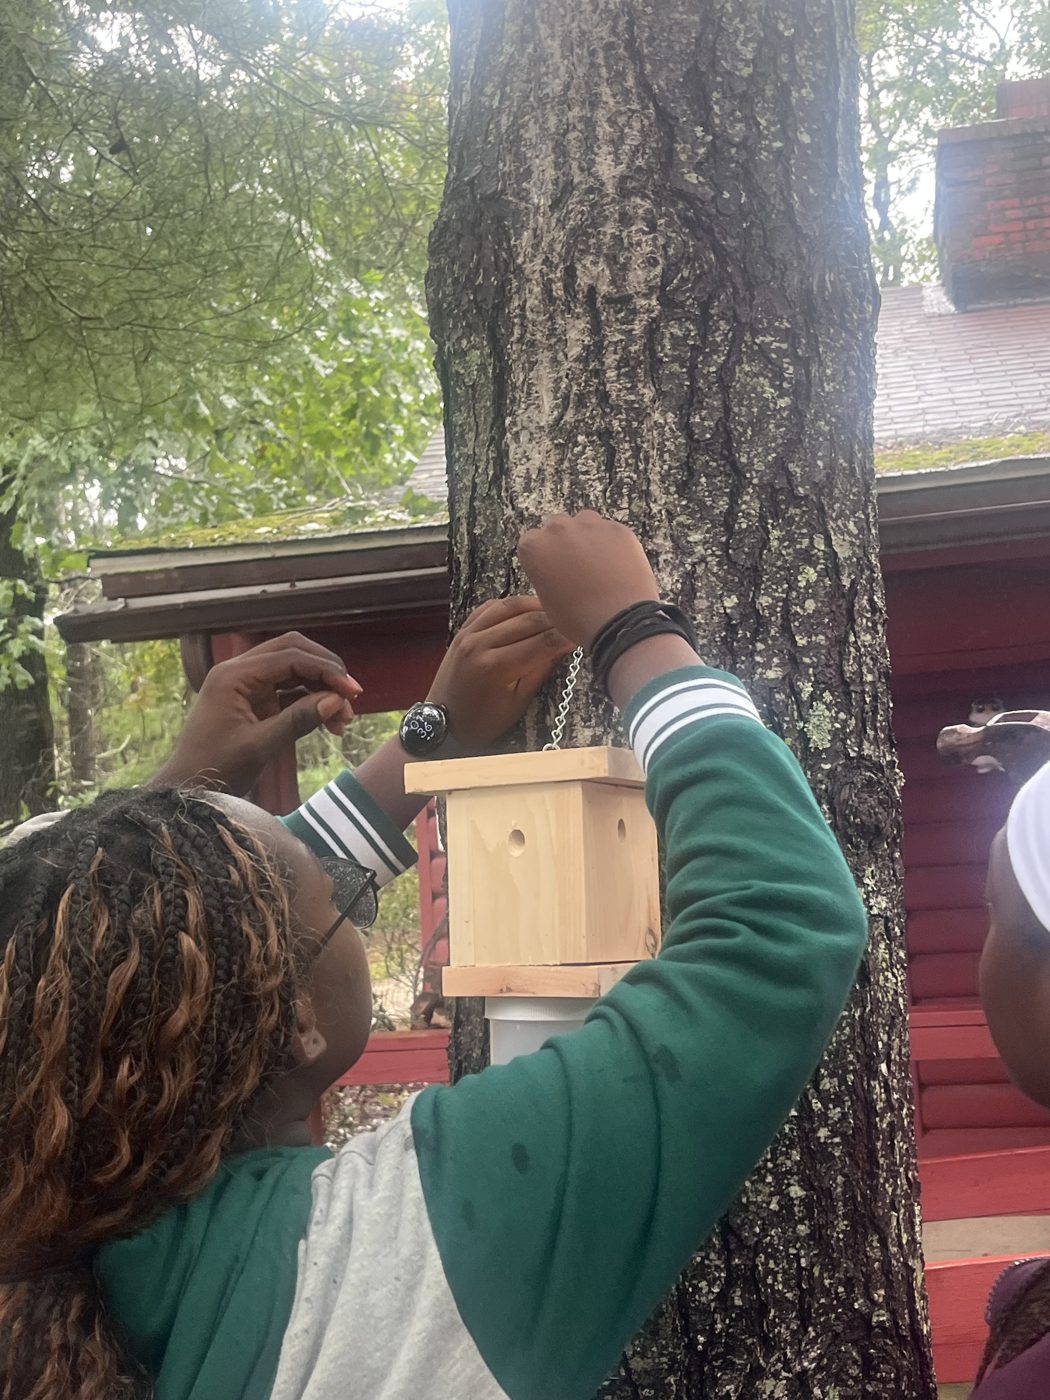
Hang it, check it, reuse it
Hang at the roofline — eaves, beams, and pavilion corners are prime real estate. Check the jar every couple of weeks during spring and summer, when carpenter bees are most active. The wood box itself lasts for years.
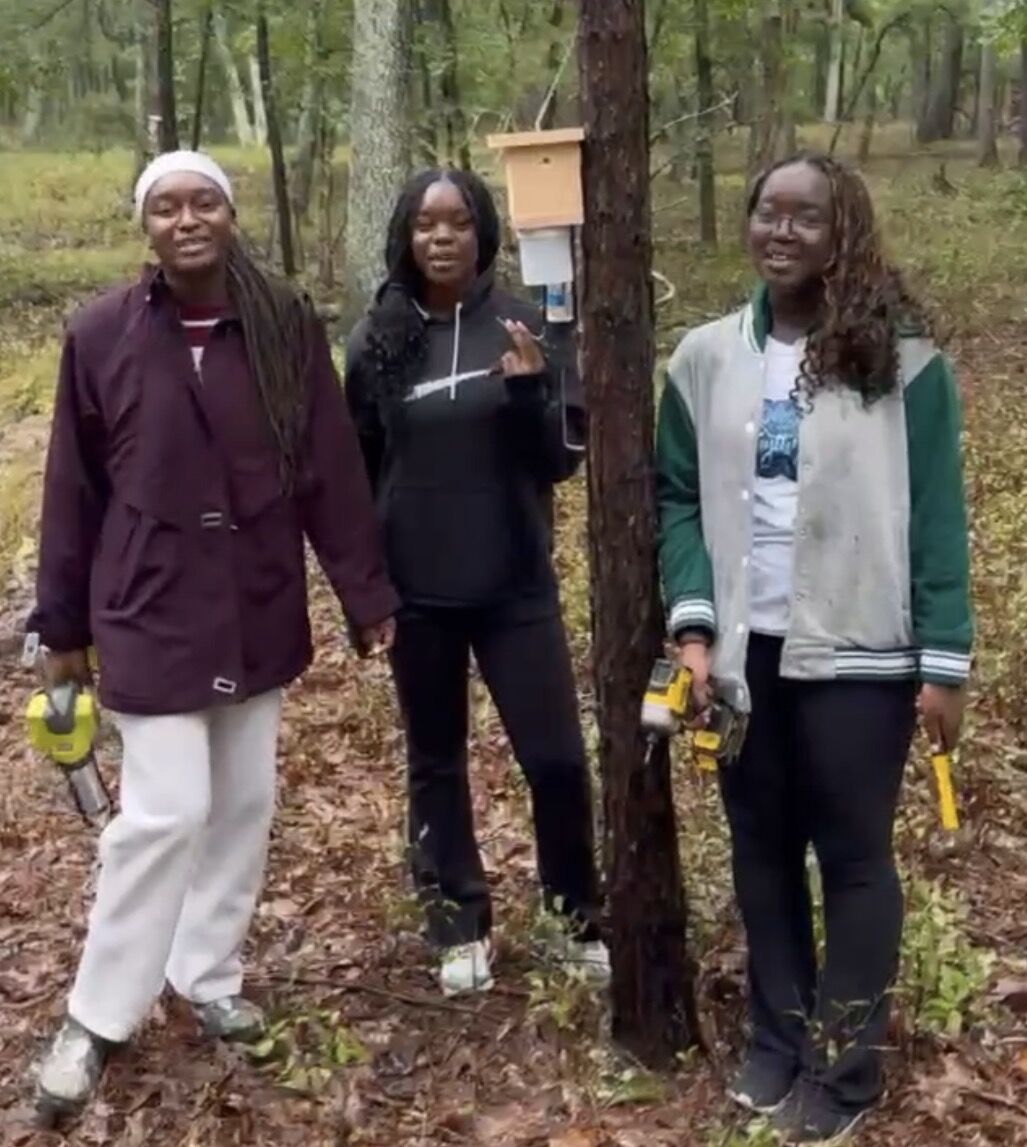
Final product
A finished bee trap — hole, hanging chain, and jar all in place and ready to go.
See it in action
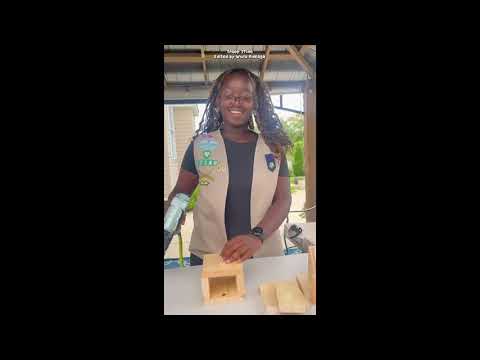
Two short videos from the team, ready to watch.
 WATCH ON YOUTUBE
 WATCH ON YOUTUBE